PowerShell command to list out all the VDAs registered or registered/unregistered to site and schedule it using task scheduler send the report over mail
The PowerShell command will be used to collect only unregistered VDAs from the site.
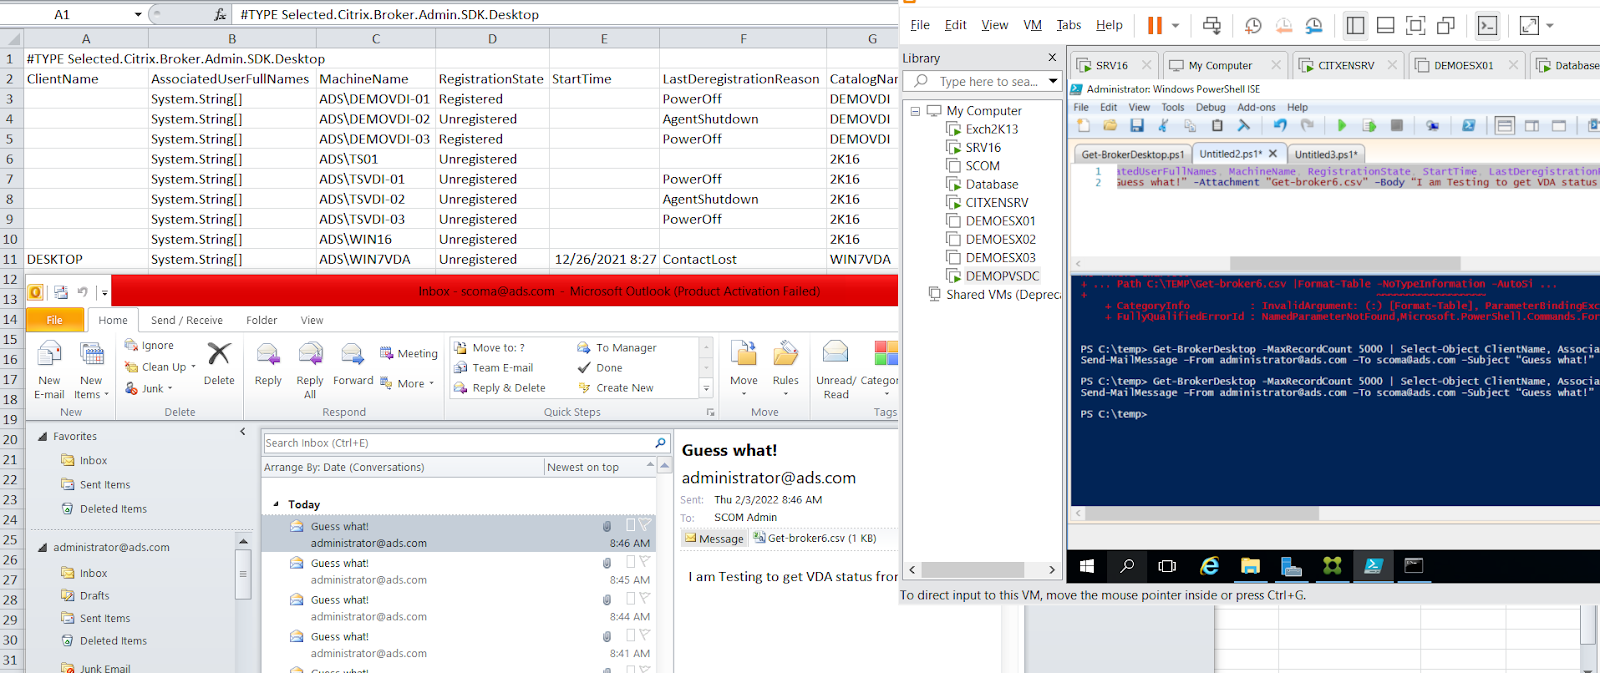
Get-BrokerDesktop -MaxRecordCount 5000 | Select-Object ClientName, AssociatedUserFullNames, MachineName, RegistrationState, StartTime, LastDeregistrationReason, CatalogName, LastConnectionTime, FunctionalLevel |Where-object {$_.RegistrationState -eq 'Unregistered'} | Export-Csv -Path C:\TEMP\Get-brokerDesktop.csv |Format-Table –AutoSize
Send-MailMessage –From administrator@ads.com –To VDA@ads.com –Subject “Guess what!” -Attachment "Get-brokerDesktop.csv" –Body “I am testing to get VDA status through PowerShell” -SmtpServer smtp.mail.com -Port 25
Below PowerShell command will be used to collect all VDAs registered/unregistered from the site.
Get-BrokerDesktop -MaxRecordCount 5000 | Select-Object ClientName, AssociatedUserFullNames, MachineName, RegistrationState, StartTime, LastDeregistrationReason, CatalogName, LastConnectionTime, FunctionalLevel, AssociatedUserSID, HostedMachineName | Export-Csv -Path C:\TEMP\Get-broker6.csv |Format-Table -InformationAction Stop -AutoSize
Send-MailMessage –From administrator@ads.com –To VDA@ads.com –Subject “Guess what!” -Attachment "Get-brokerDesktop.csv" –Body “I am testing to get VDA status through PowerShell” -SmtpServer smtp.mail.com -Port 25
If you want more details, refer below link and update the parameters accordingly.
https://developer-docs.citrix.com/projects/citrix-virtual-apps-desktops-sdk/en/latest/Broker/Get-BrokerMachine/
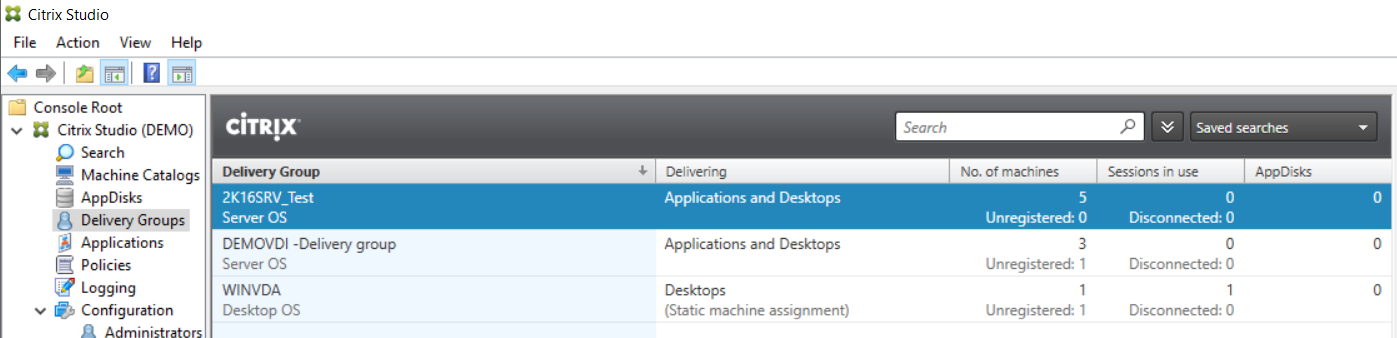
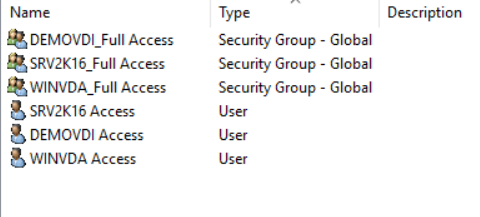
Output will be like below.
You can schedule it using the task scheduler.
You need to save the script file in the same location where the report file is getting exported.
For me it is c:\temp
Login to server from where you want to schedule task
Open Task scheduler
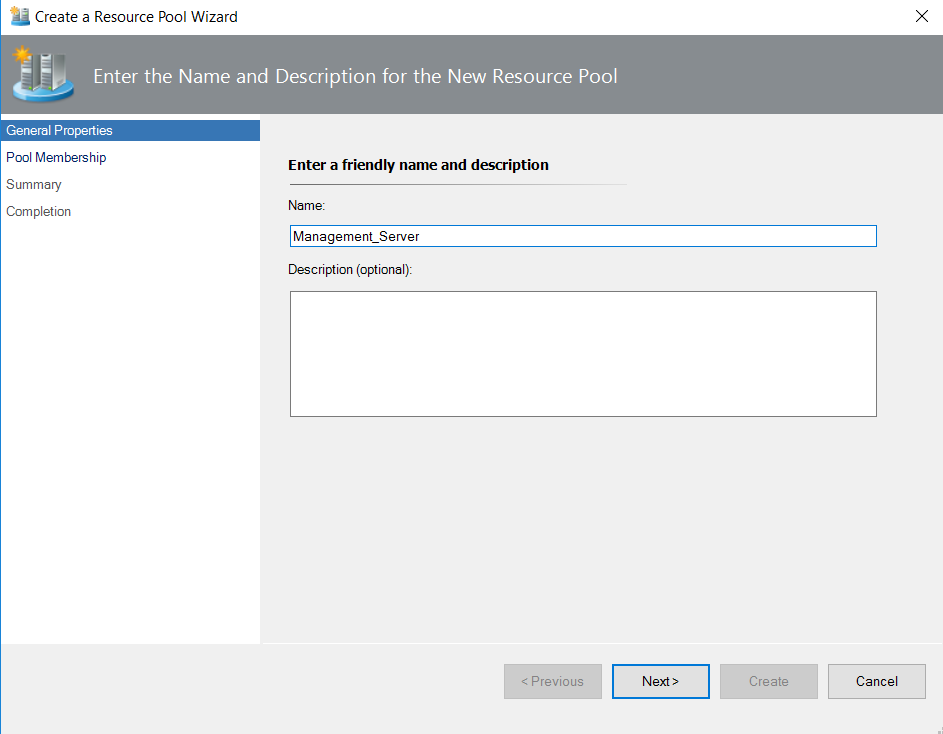
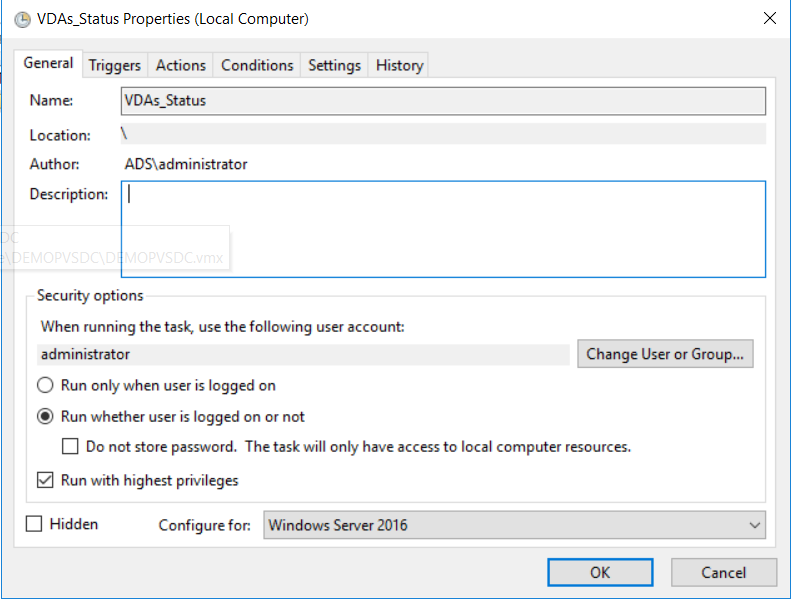
Create new task -> Give task name
In security options select how you want to run the script
In my case I have selected Run whether user is logged on or not
Check mark on Run with highest privileges.
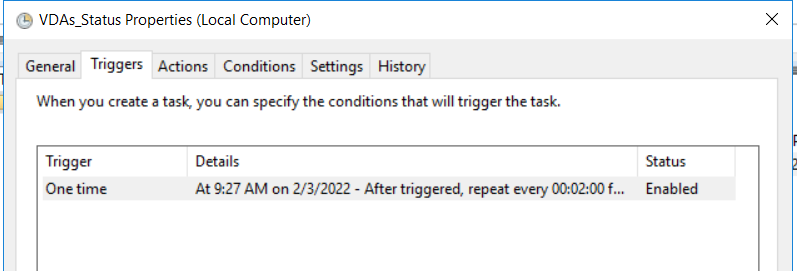
Click on Triggers and set the scheduled time
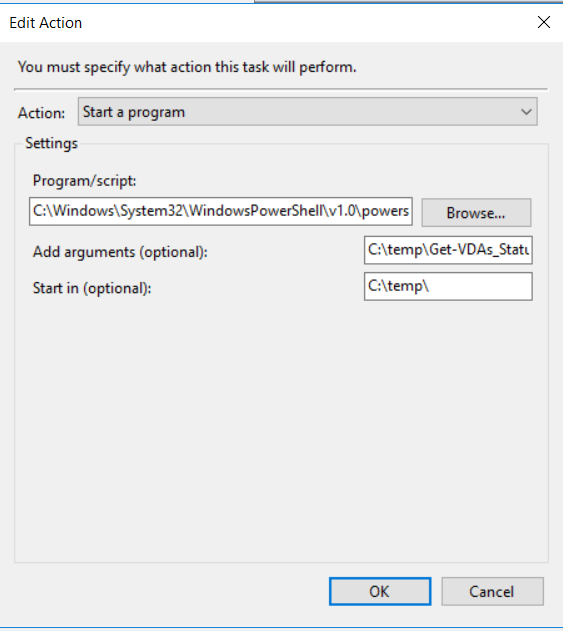
Click on Action and in Action select start a program
In program/script browse and select powershell.exe
In arguments: give the script path with script name .ps1
Start in: Give the path where you have kept your script.
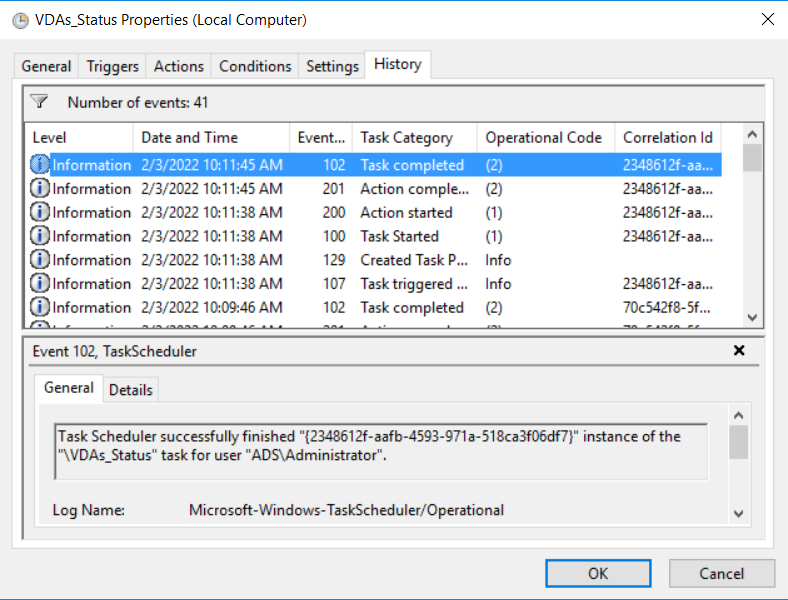
Apply OK and wait for the scheduled time, task will execute at scheduled time like below