Veeam backup & Replication 11 installation | Repository add |vCenter Add in Veeam Backup
Download the setup file
Double click on setup.exe
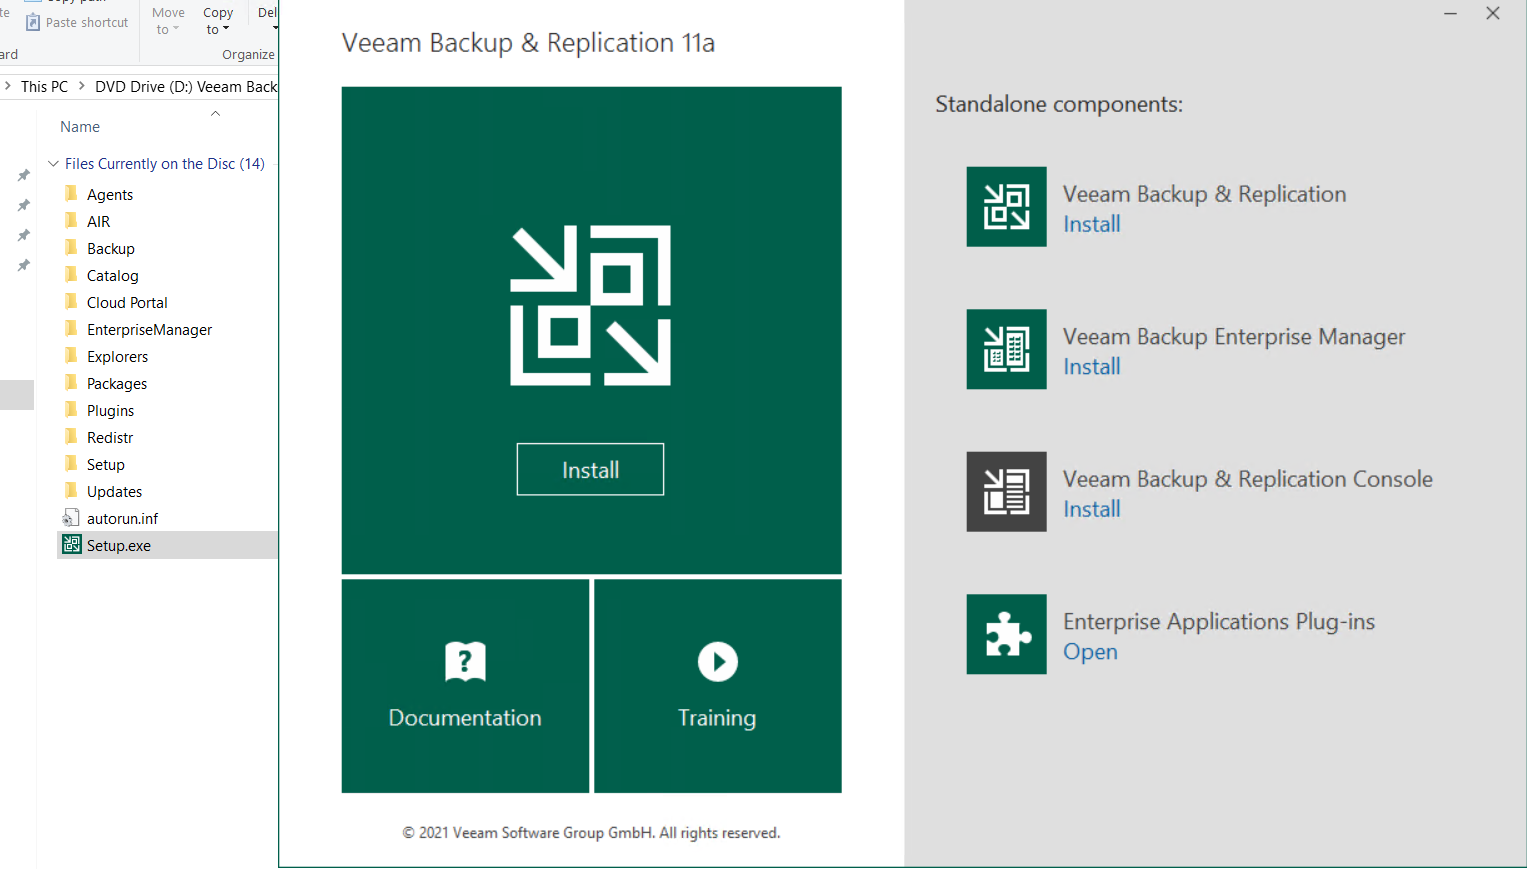
Click Install
Note-: If you want to install these component standalone then click standalone components
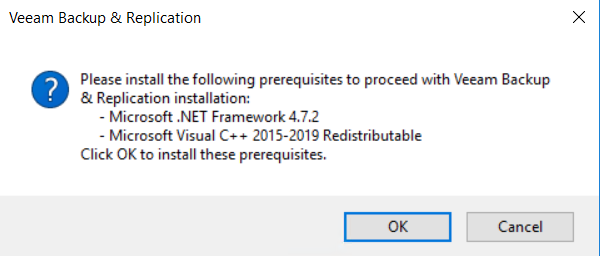
Click Ok to install prerequisites in case you have not already installed.

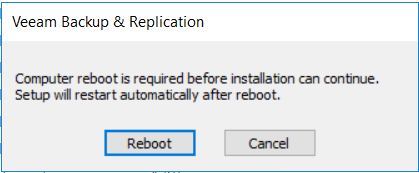
Post installation prerequisites it will prompt for reboot.
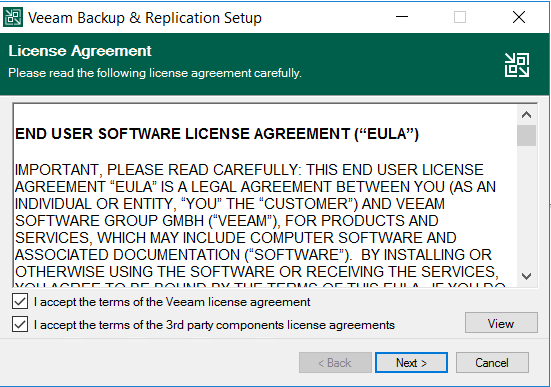
Accept the license term and condition.
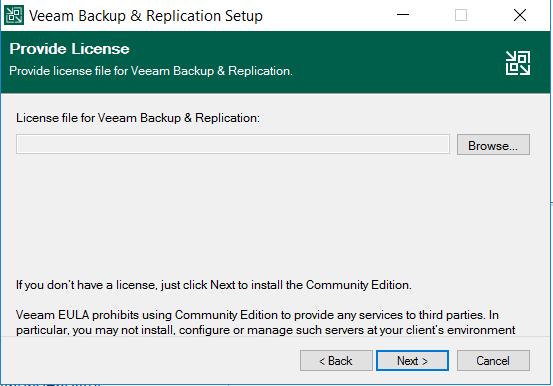
Browse license file -> Next
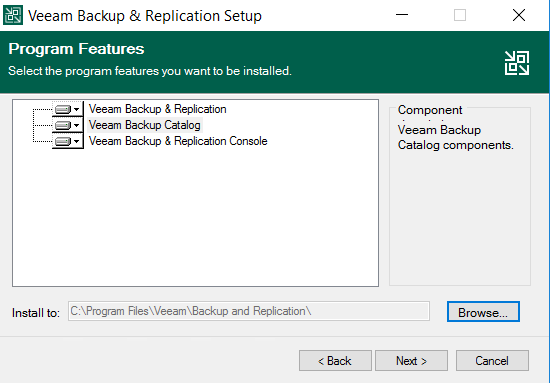
Select the product and change the installation path
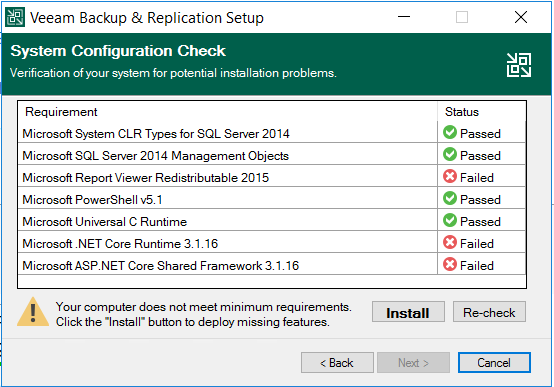
Install the minimum requirements
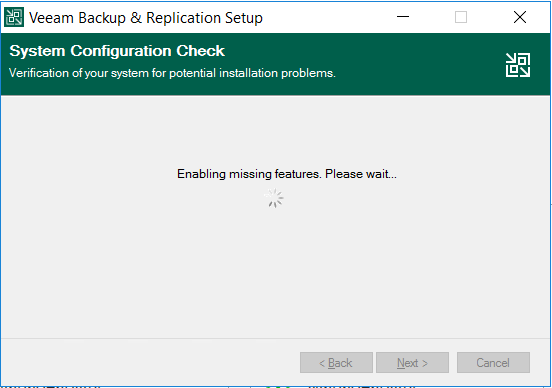
Enabling missing features
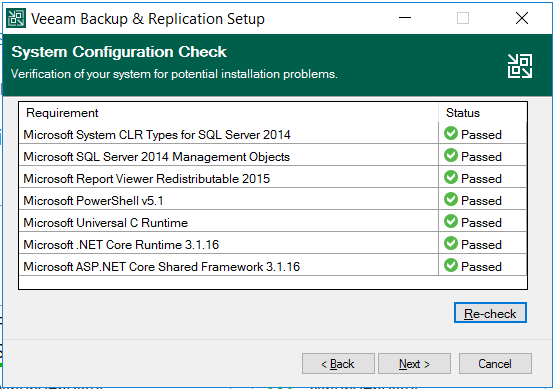
Now prerequisites have been installed
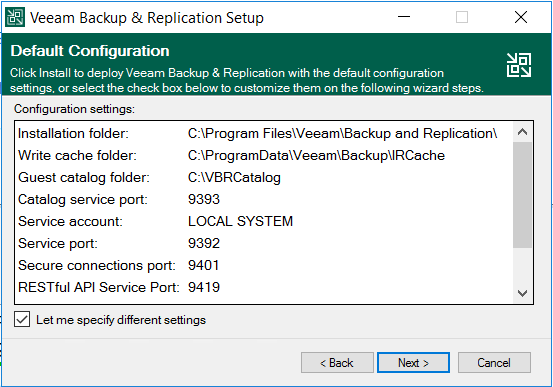
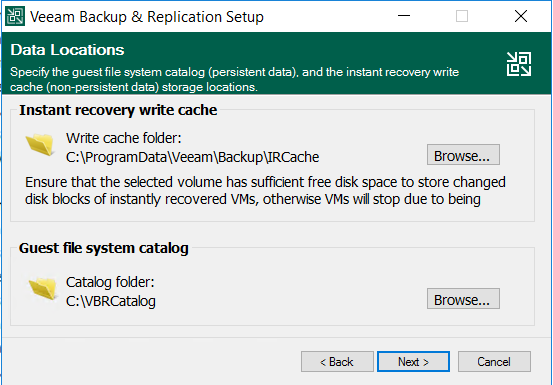
Assign Write cache folder and Guest catalog folder path to different drive like below
V:\programData\Veeam\backup\folder name where you have to keep
V:\VBRCatalog
Write cache path will be used when you will perform VM recovery.
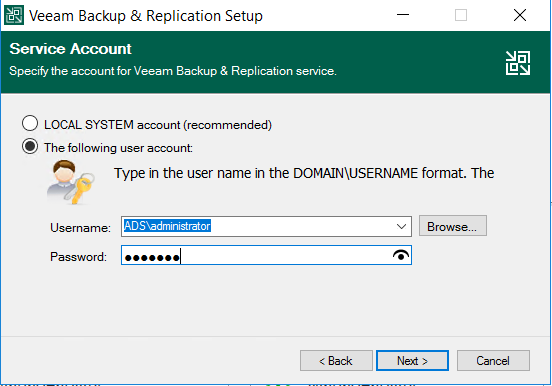
Use the service account
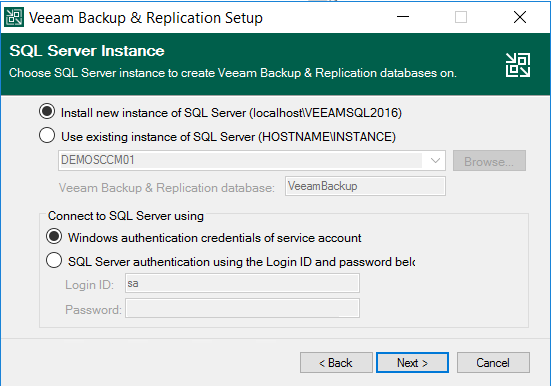
By default Veeam will install express edition on this machine if you want to choose existing then change the option and give the database server name.
If you are using express edition then size will be 10GB so if you are planning to take Exchange or SharePoint backup then always plan to use Enterprise or standard edition.
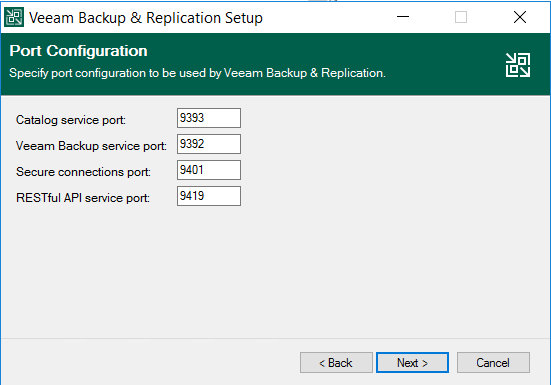
Specify the port number if you want to use custom or keep it default
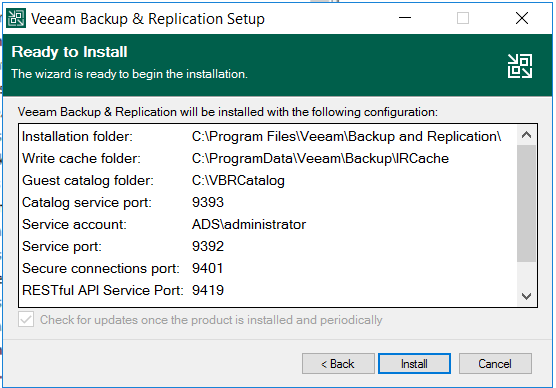

Click on Install to start installation.
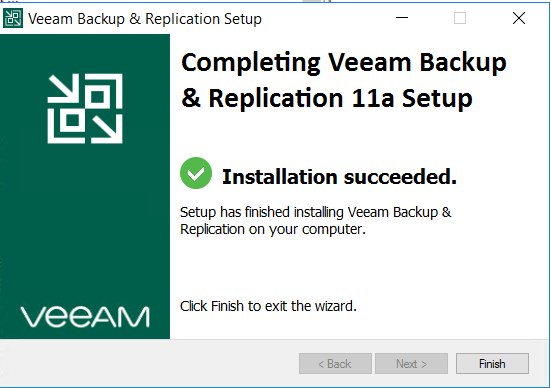
Click Finish
Now launch Veeam Backup and Replication
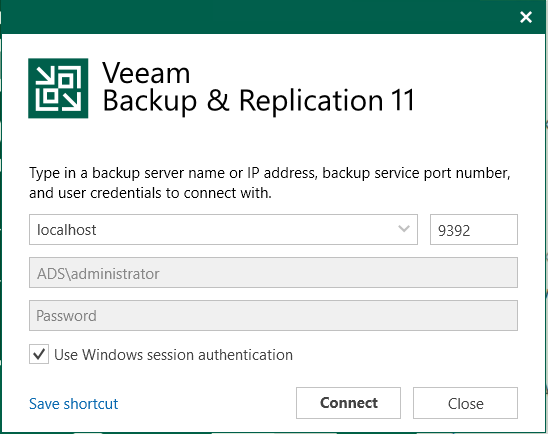
Click Connect
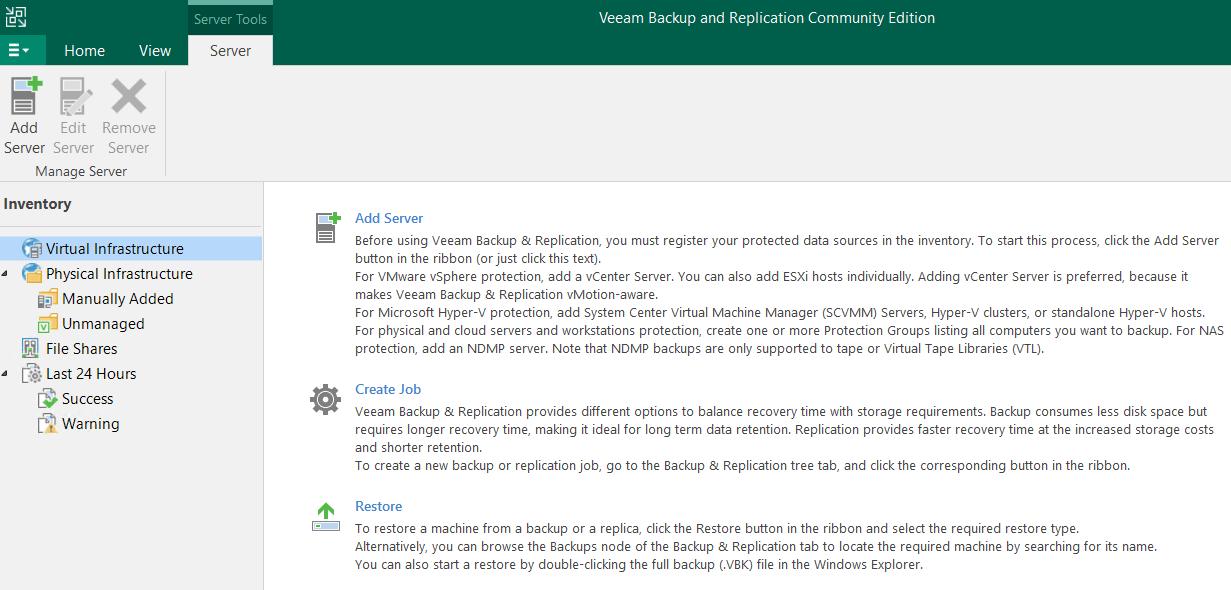
Add repository in Veeam Backup and Replication
Connect to Veeam Backup & Replication
Click Backup Infrastructure from left side bottom
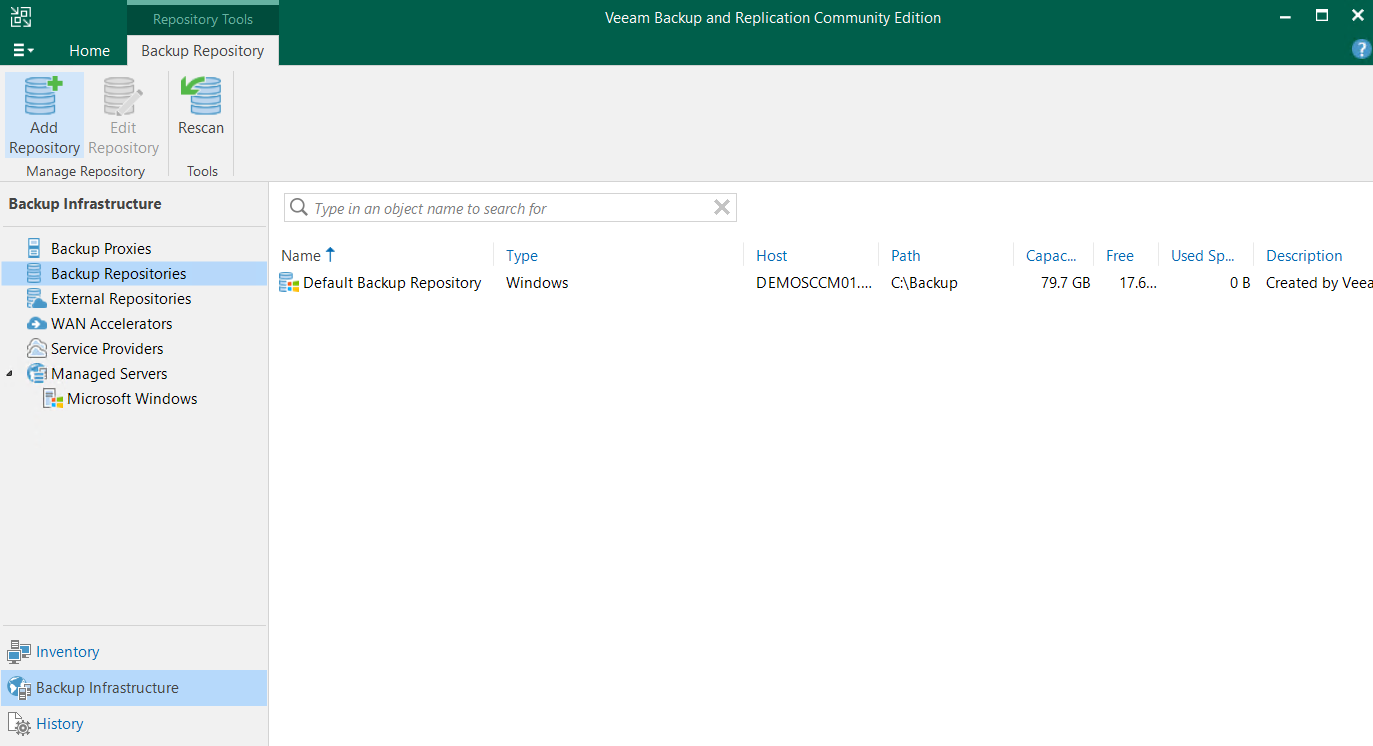
Select Backup Repository
Click Add Repository
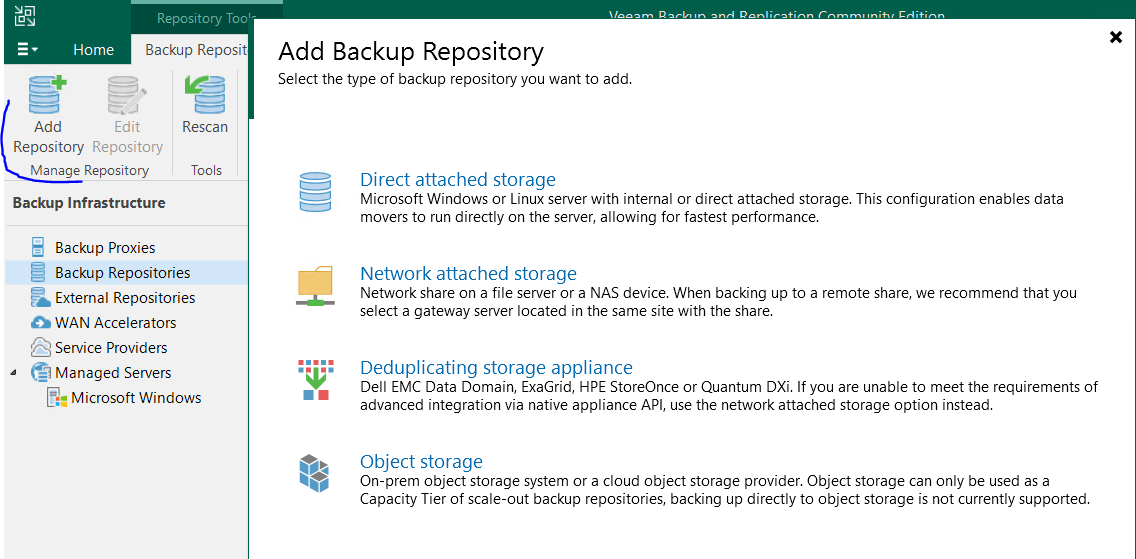
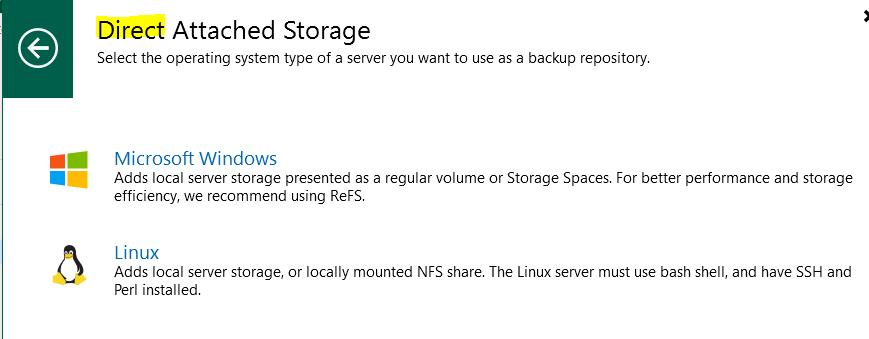
Click Direct Attached storage
Microsoft Windows
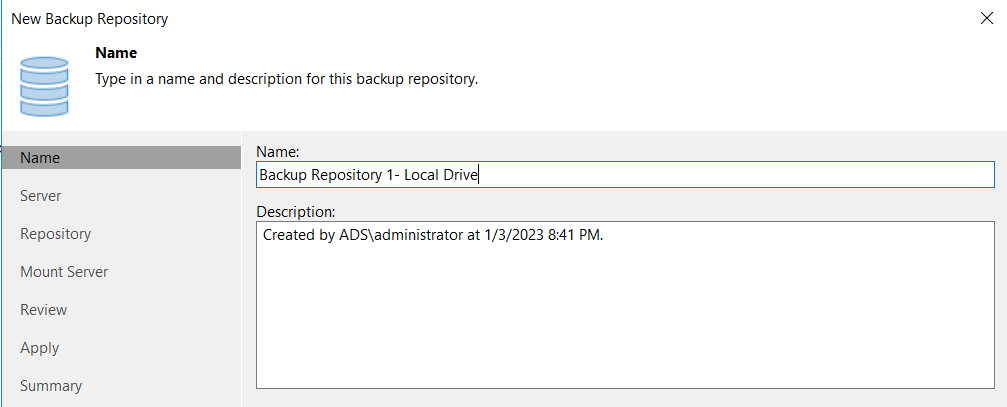
Name: Enter Repository Name
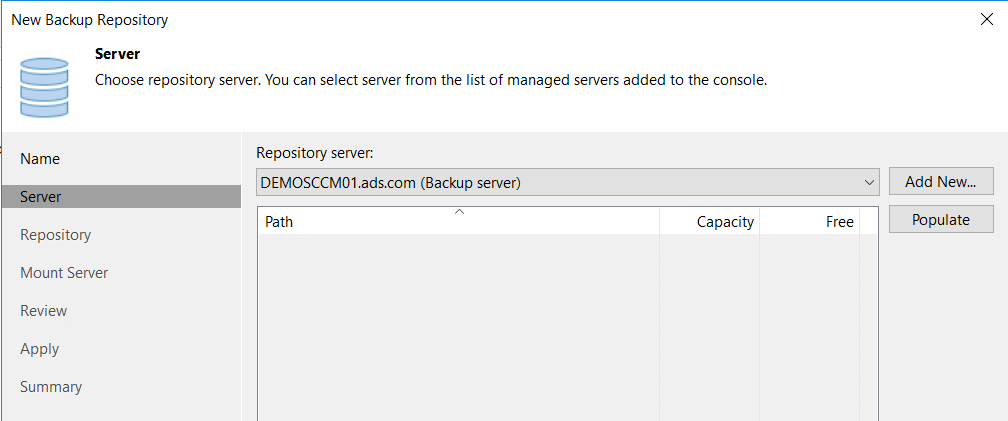
Select server from list if you want to add another server else click next
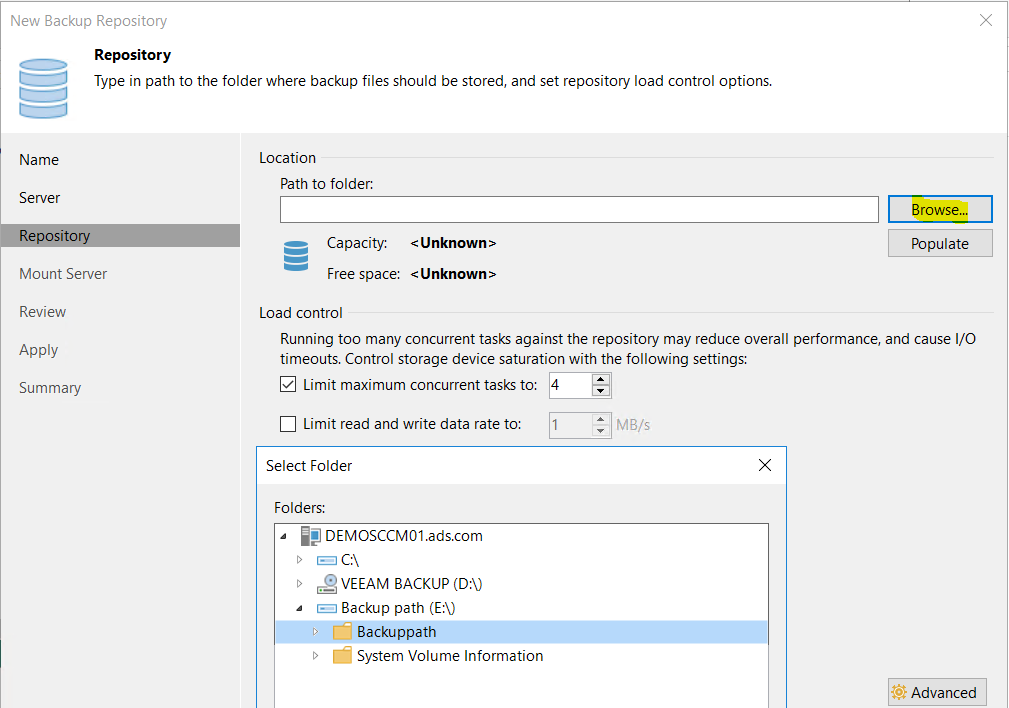
Browse the path and select the drive and folder where you want to keep backup file
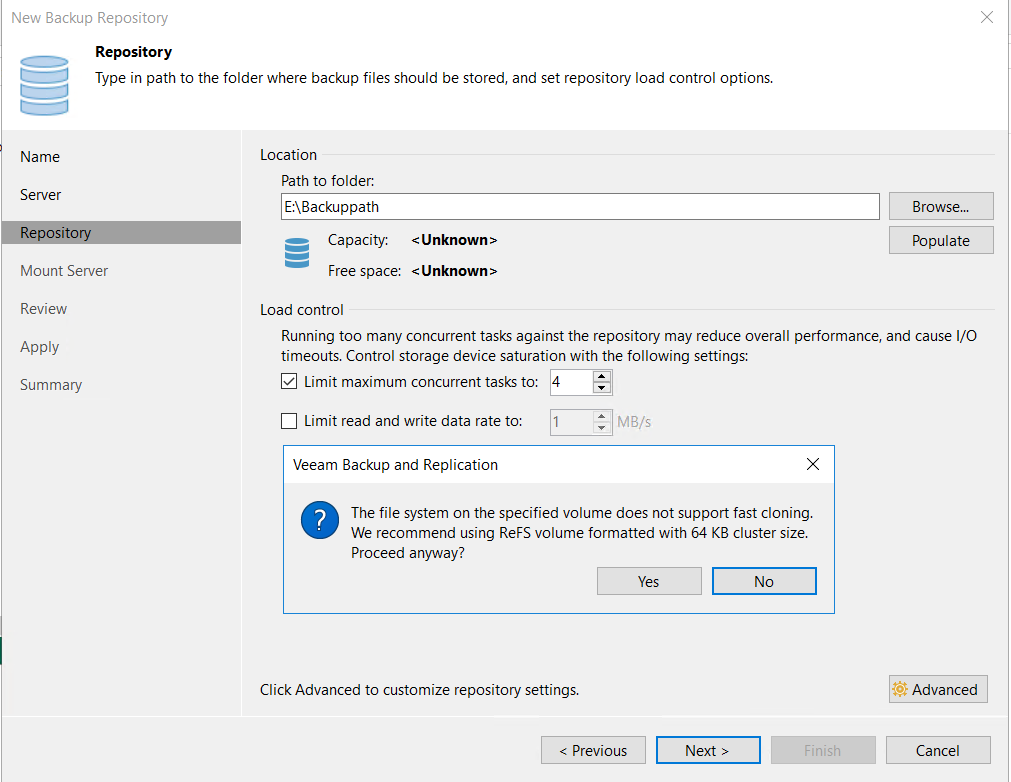
Now I formatted disk in ReFS volume
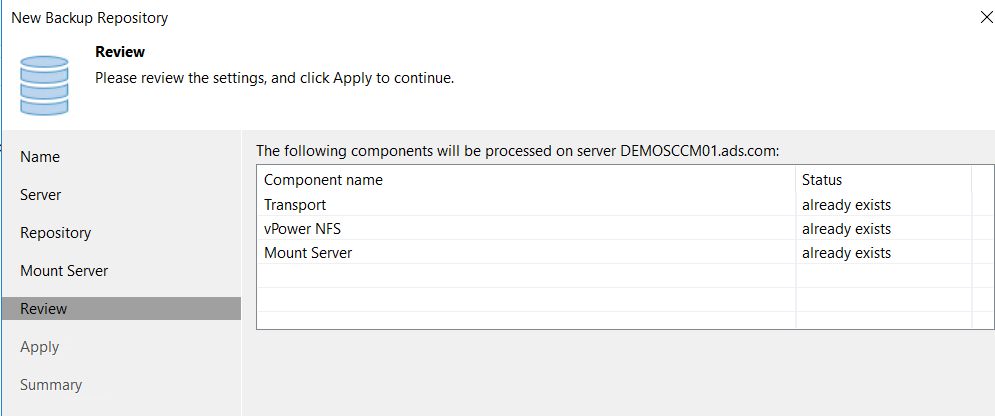
Cross check the write cache folder that will be required when you will restore VM

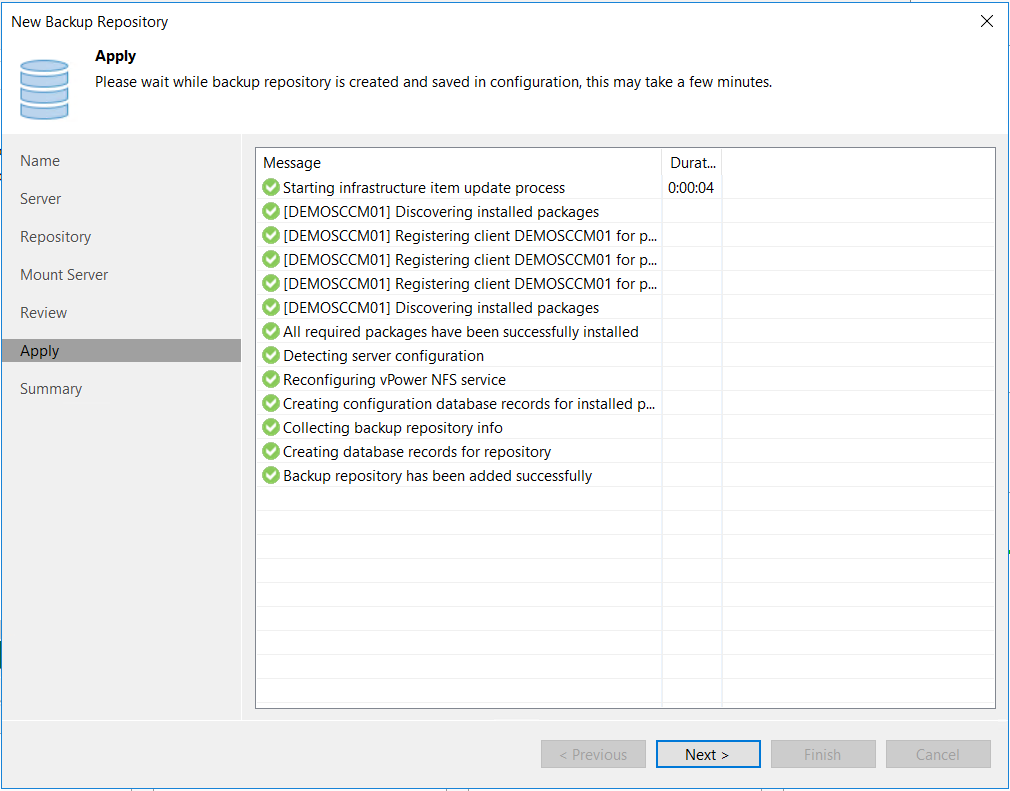
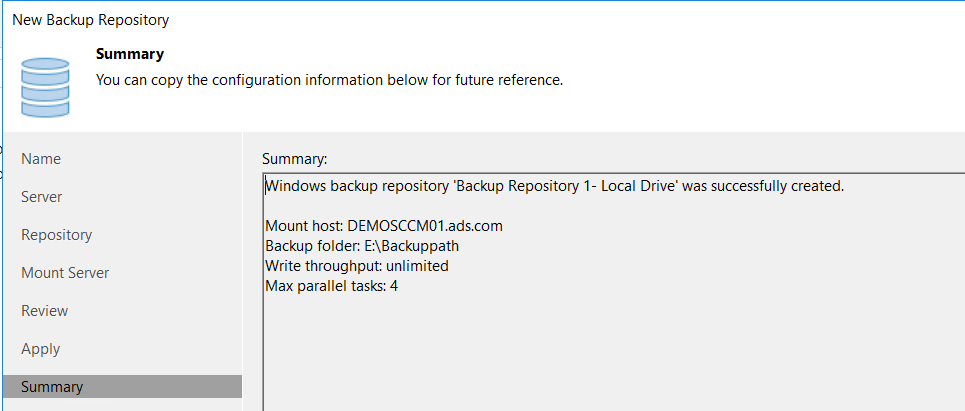
Now Backup repository has been added

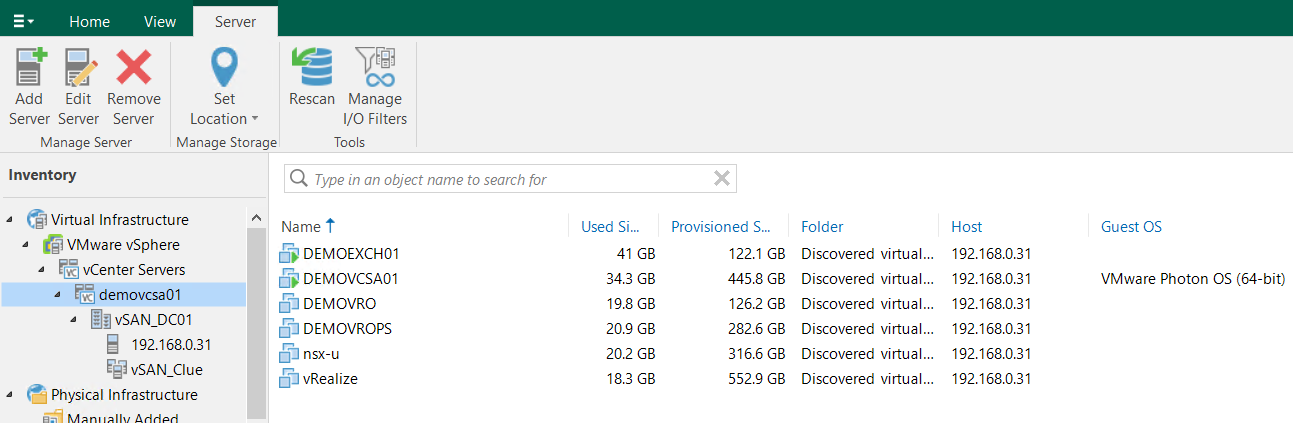
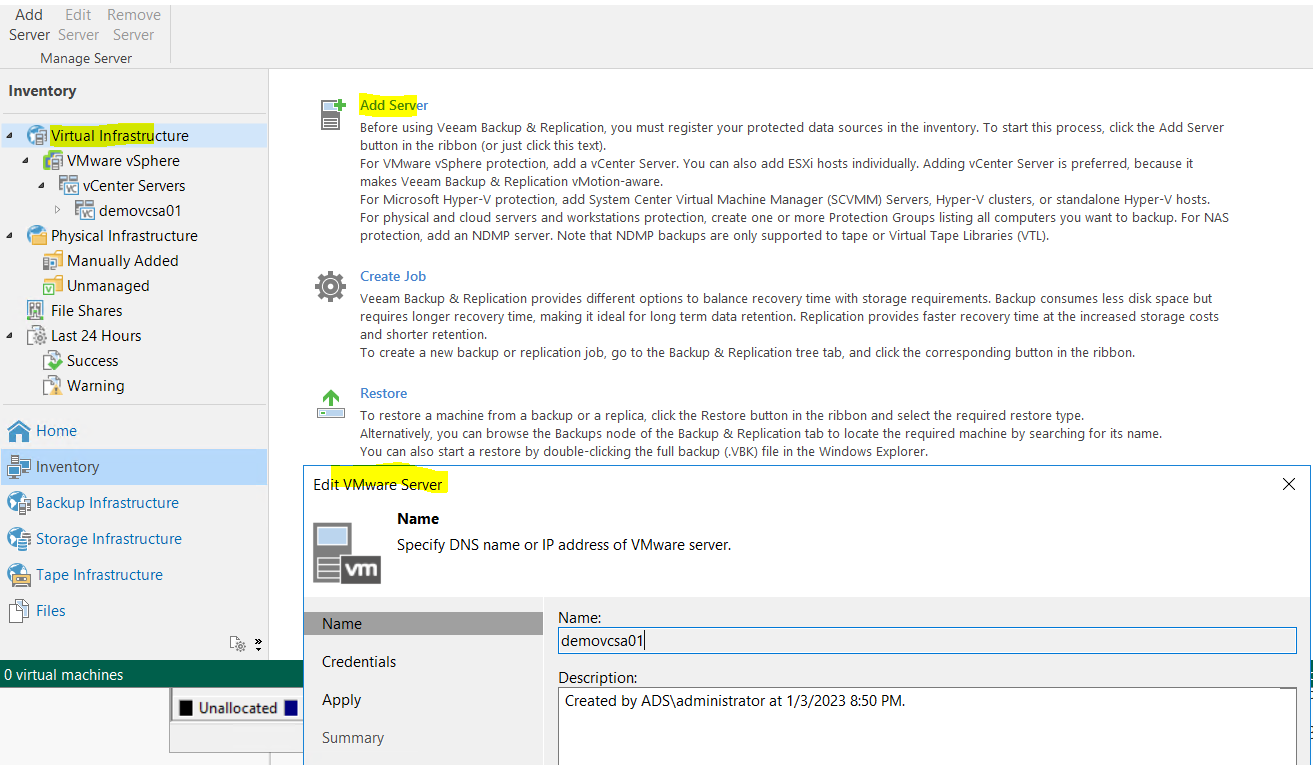
Add vCenter server in Veeam
Click next
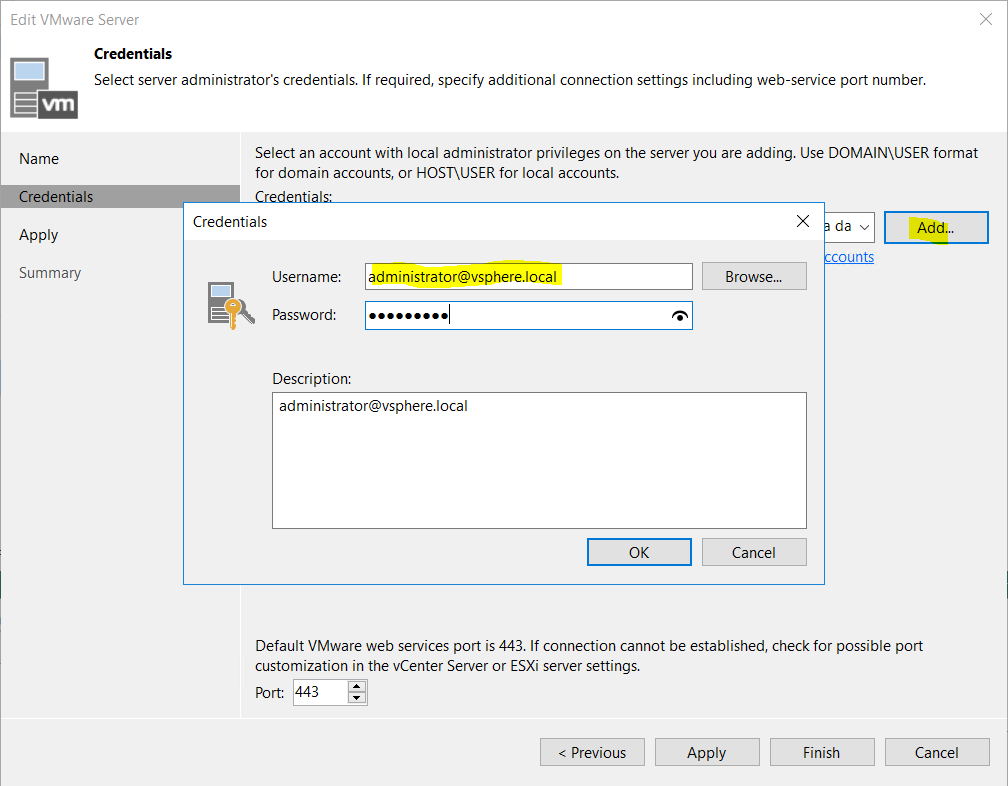
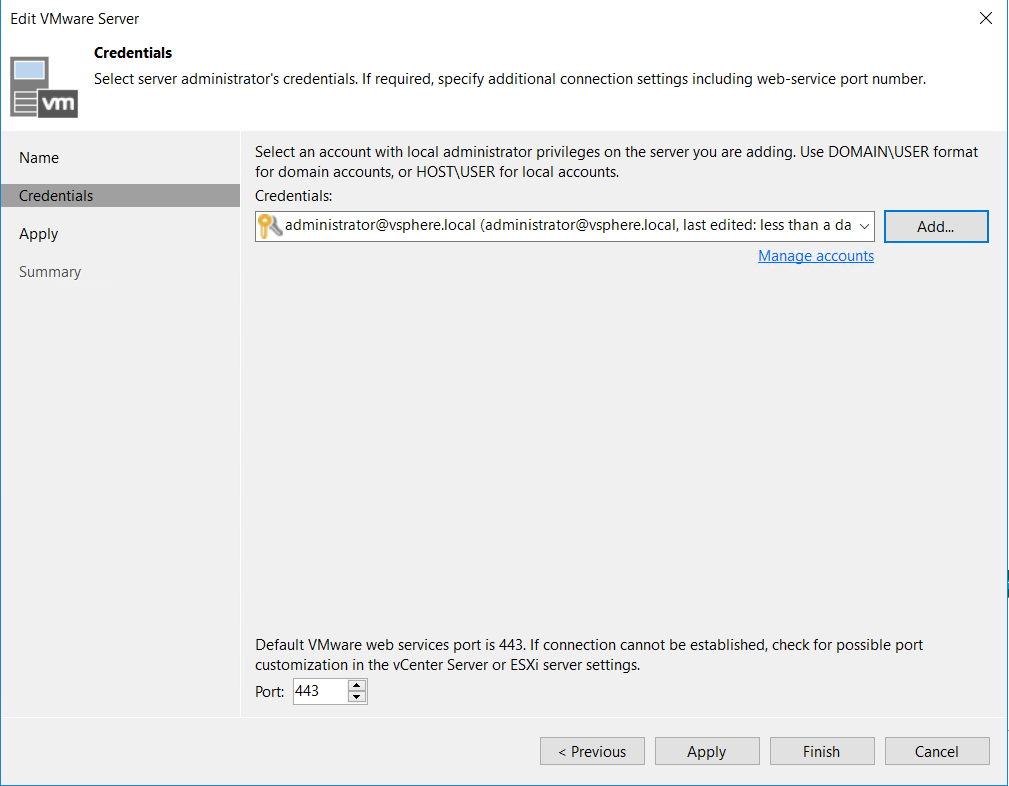
Add and enter vCenter server login details
Click Ok
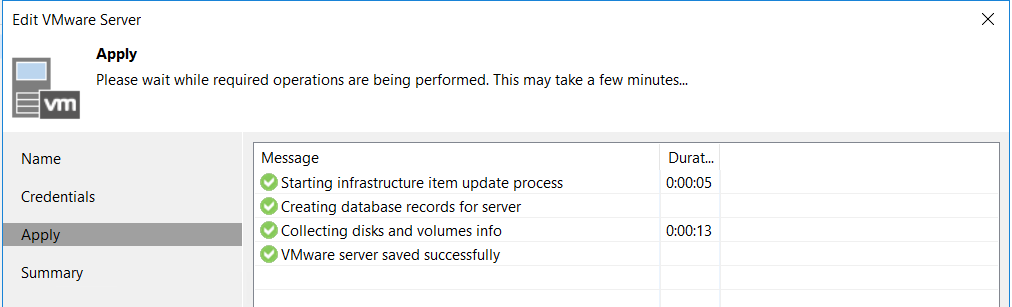
Click Apply
Click next
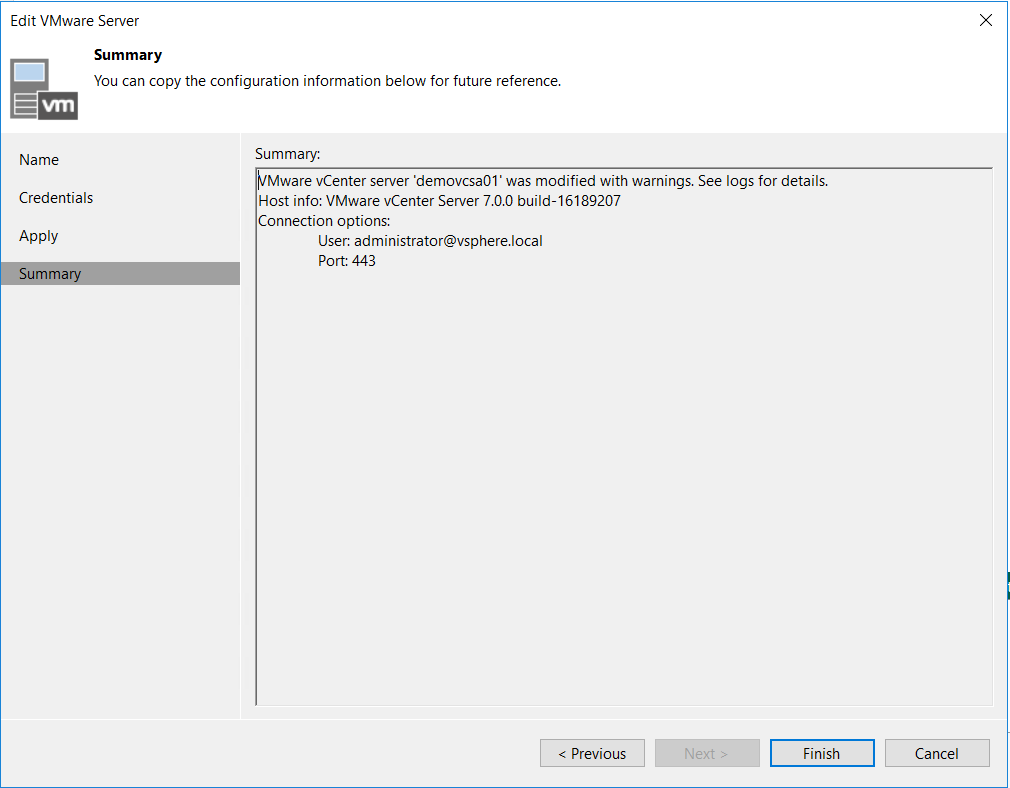
Now all VMs are reflecting under the vCenter server .