I have created backup job using Create Backup Job In Veeam Backup & Replication and added both SQL node that is member of MS cluster and AG.
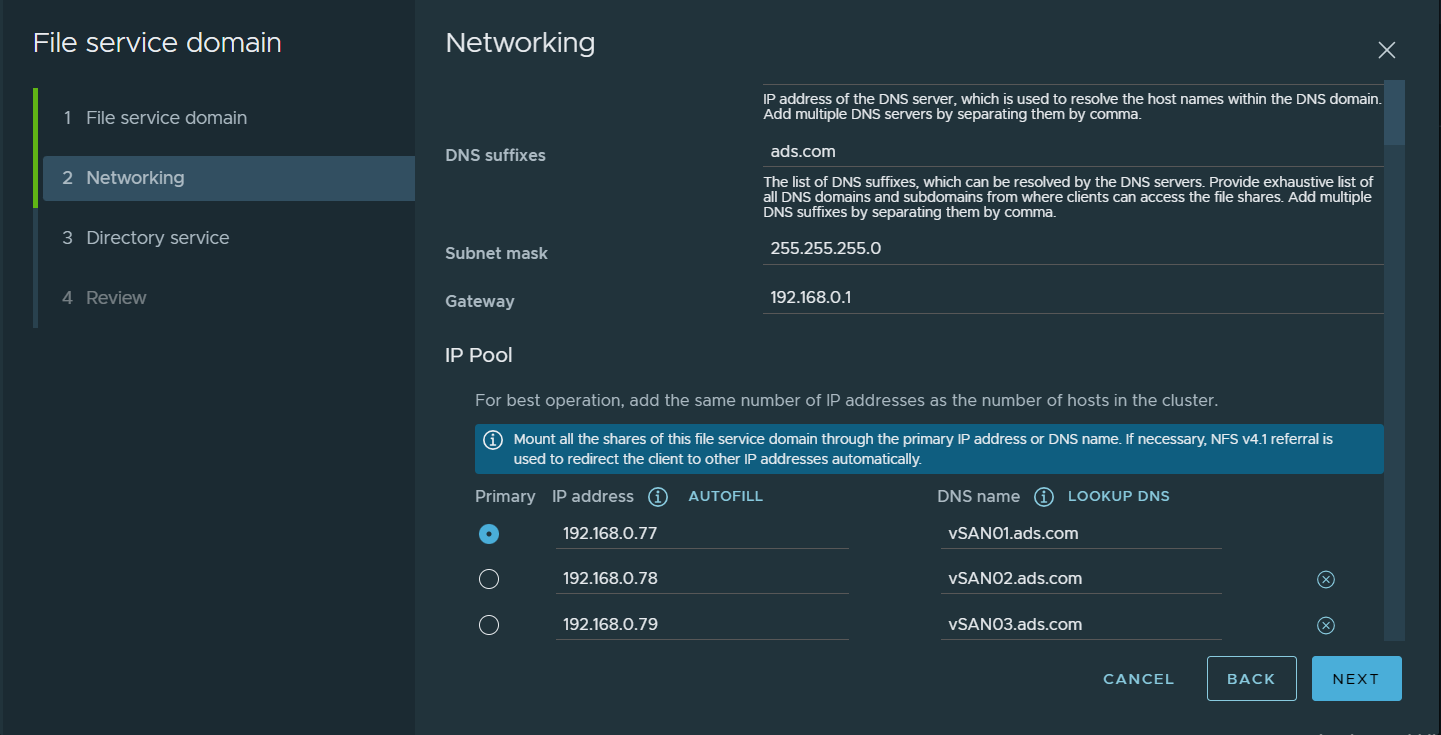
POC01 & POC02
Select Existing created Job Backup-SQL-AG
Right click and Edit -> Go to Virtual
Machine and verify both nodes are added or not.

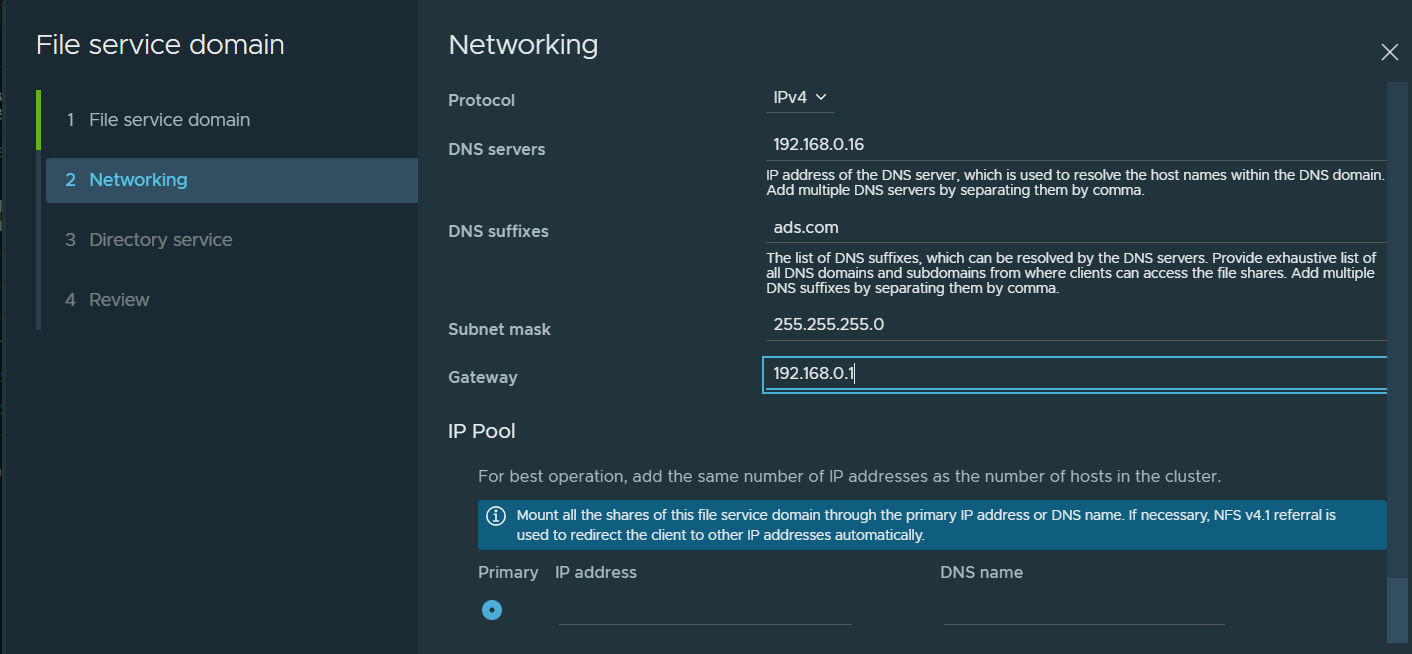
Go to Guest Processing
Check Mark on Enable application-aware processing
Check Mark on Enable application-aware processing

Click Application

Select VM one by one and click Edit
Click on SQL -> Check mark on Backup logs periodically (requires simple recovery model)
And set the time to run SQL Server transaction log back on every *** Minutes.
Also, if you may decide to keep SQL Server transaction log backup for how long time
Check mark on Retain log backups, like Until the corresponding image-level backup is deleted or keep only last *** days of log backups.

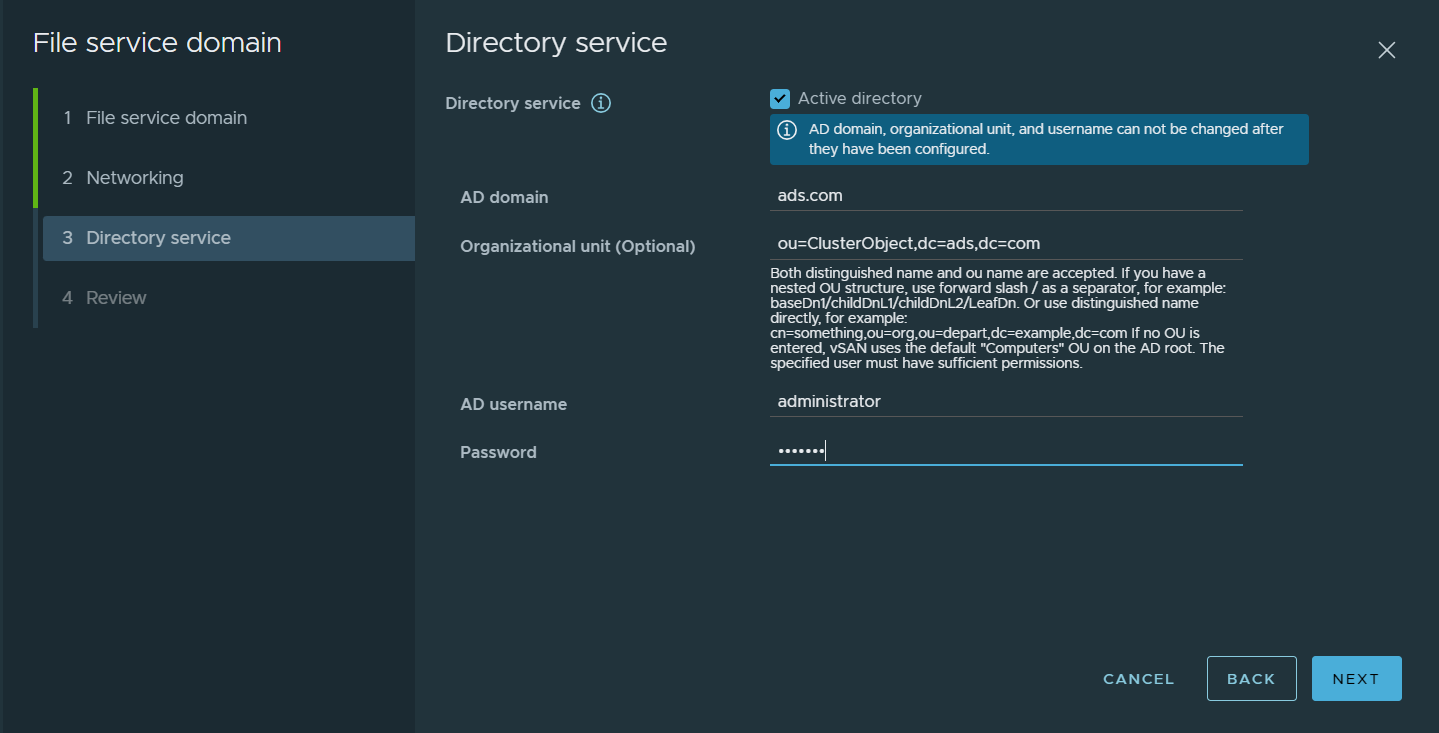
Add Guest OS credentials, make sure you
have local Administrator access as well as Sysadmin at SQL level.

Click Test now to check the credentials that you have enter is correct.
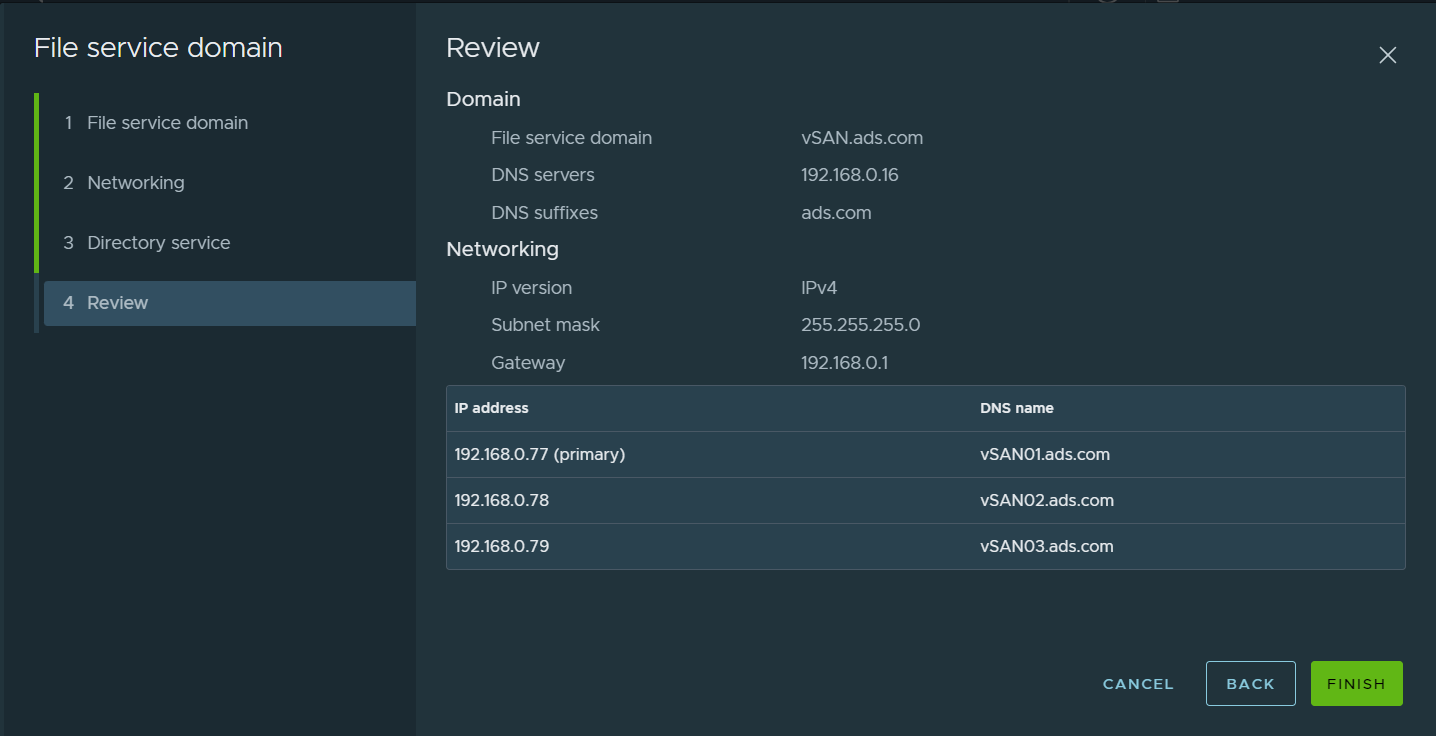
Once the backup will complete go to Disk under Backup and you will see SQL Server transaction log backup has also taken along with full backup.

One-time full backup will run, and SQL T
log backup will run in every 5 Minutes