VCSA 7.0 installation steps
VMware has released vSphere Version 7.0, In this post we shall share some important information about new vCenter Server 7.0 and the steps to deploy the vCenter 7.0 appliance.
vSphere 7.0 has launched with some enhancements that you need to know before installation or upgradation.
Removal of vCenter Server for Windows Support
Now you can’t install vCenter server on Windows OS.
Removal of External Platform Services Controller
All PSC services have been consolidated into vCenter Server.
Deprecation of Image-Based Backup and Restore Support for vCenter Server
Image-based backup and restore for vCenter Server is deprecated in vCenter Server 7.0
vCenter Server appliance package contains the following software:
Embedded PSC
Photon OS 3.0
The vSphere authentication services
PostgreSQL
VMware vSphere Lifecycle Manager Extension
VMware vCenter Lifecycle Manage
To install vCenter 7.0 you need to build once ESXI host 6.5 or later with minimum 100GB storage, 16GB RAM and 4 cores CPU.
12GB memory and 2 cores CPU required for vCenter.
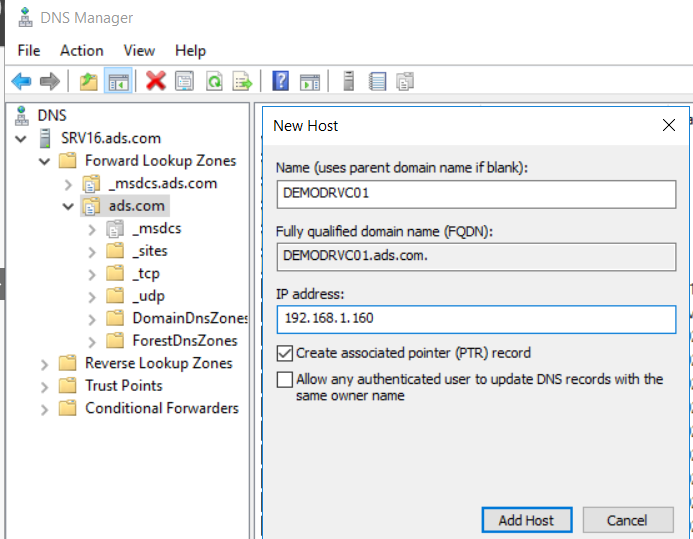
Register vCenter FQDN in DNS
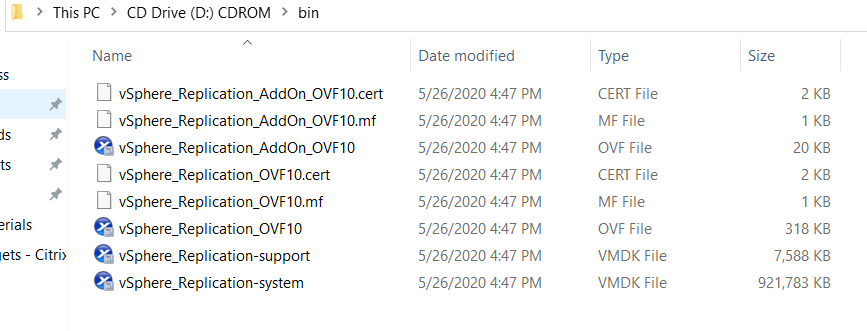
Mount ISO file to virtual drive
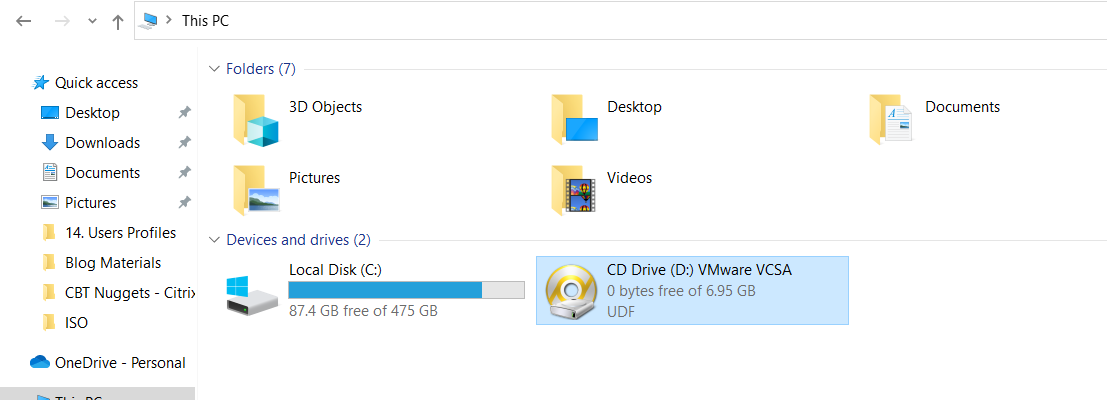
Go to D:\vcsa-ui-installer\win32 (Replace the virtual drive letter)
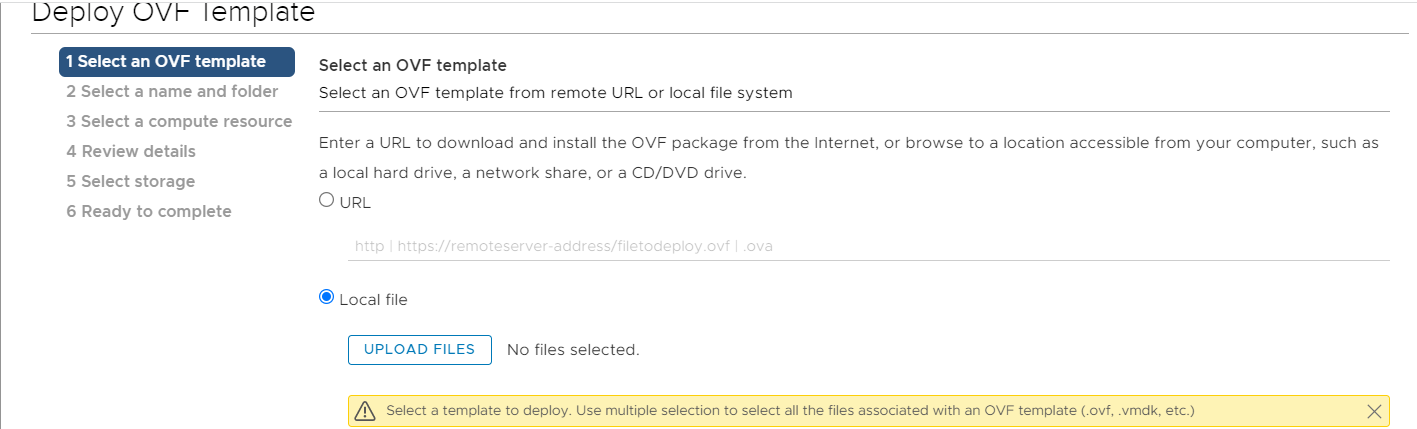
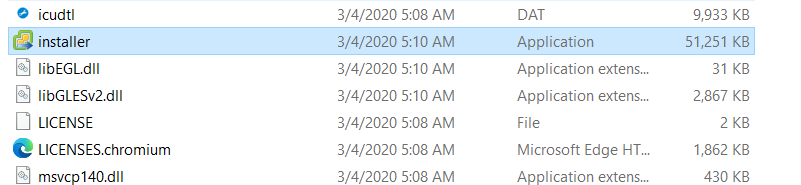
Double click on installer
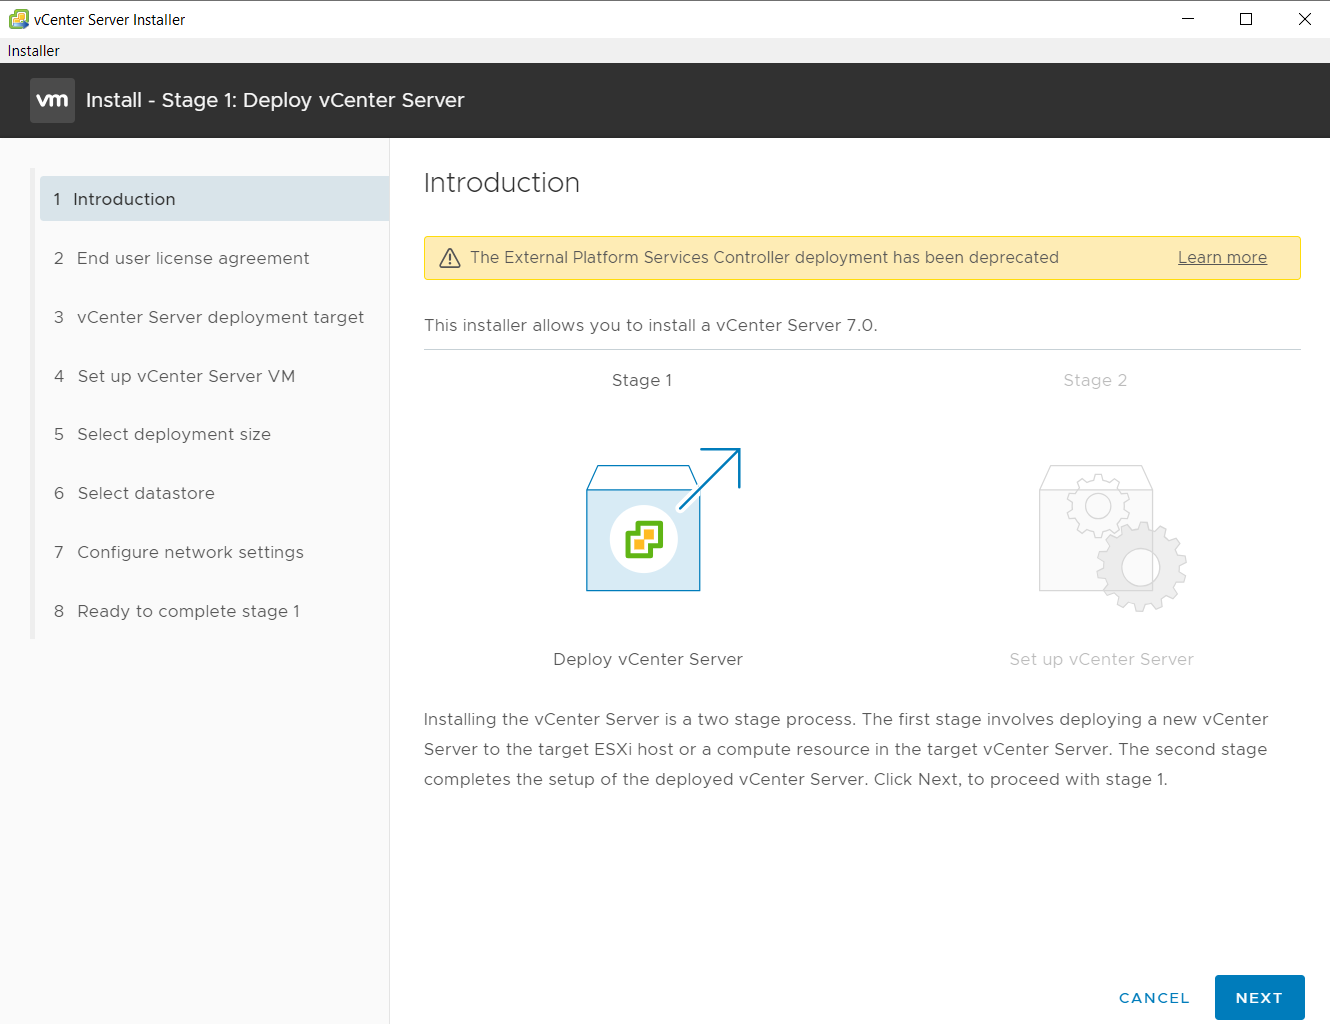
Click Install

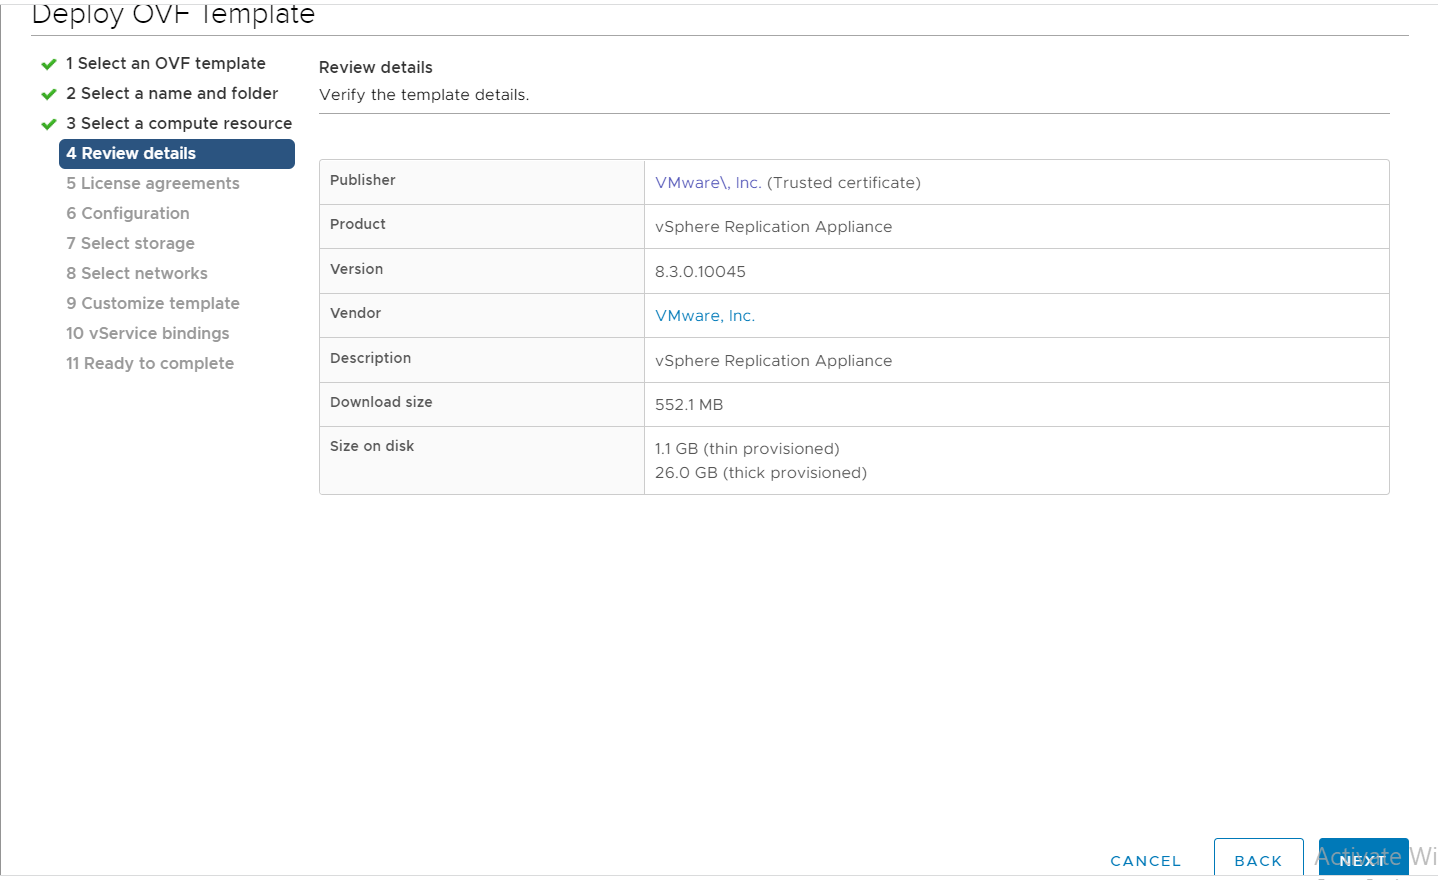
Click next
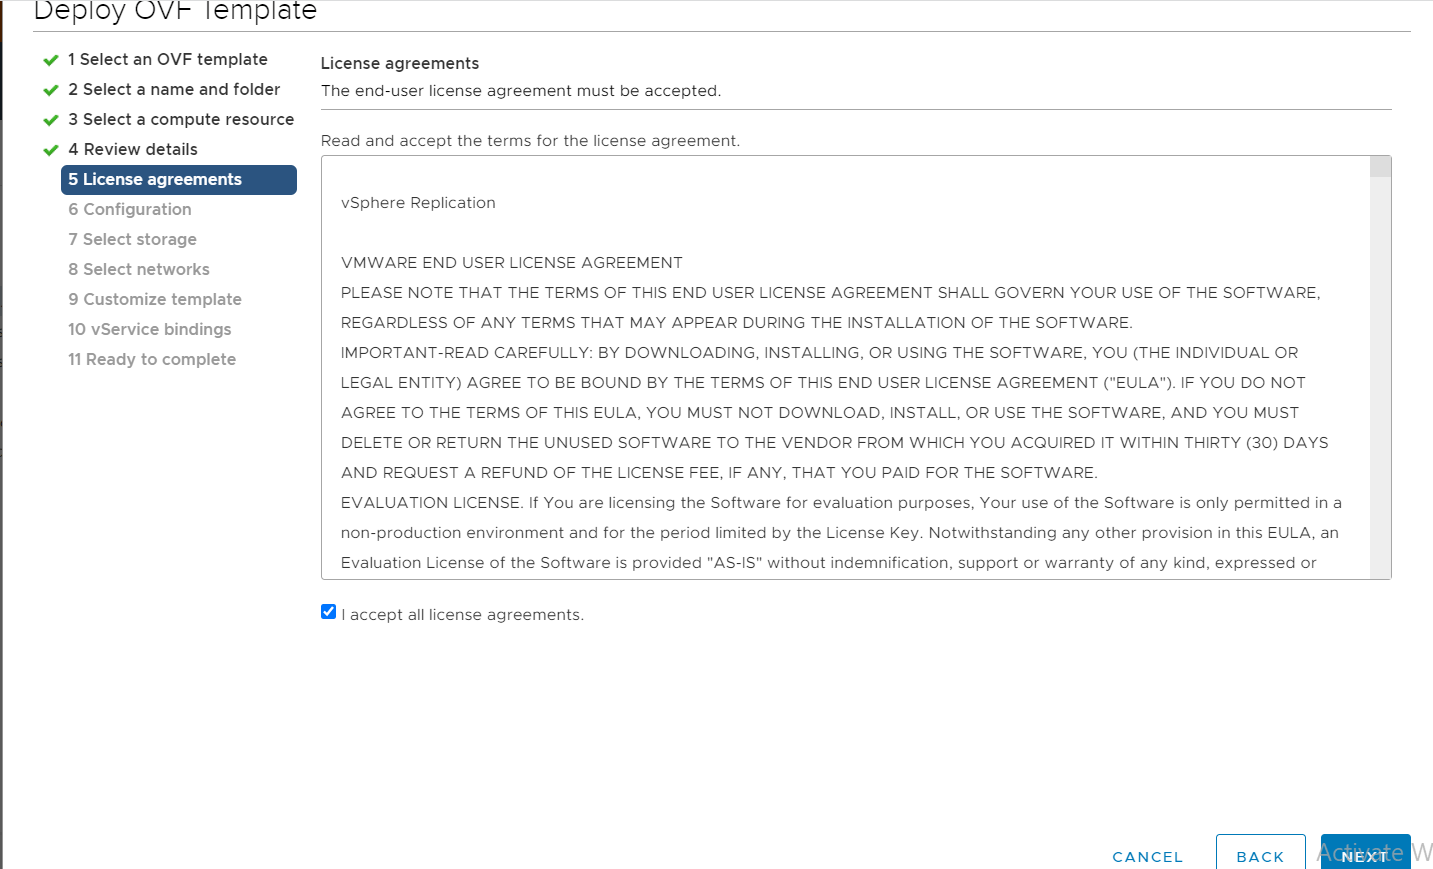
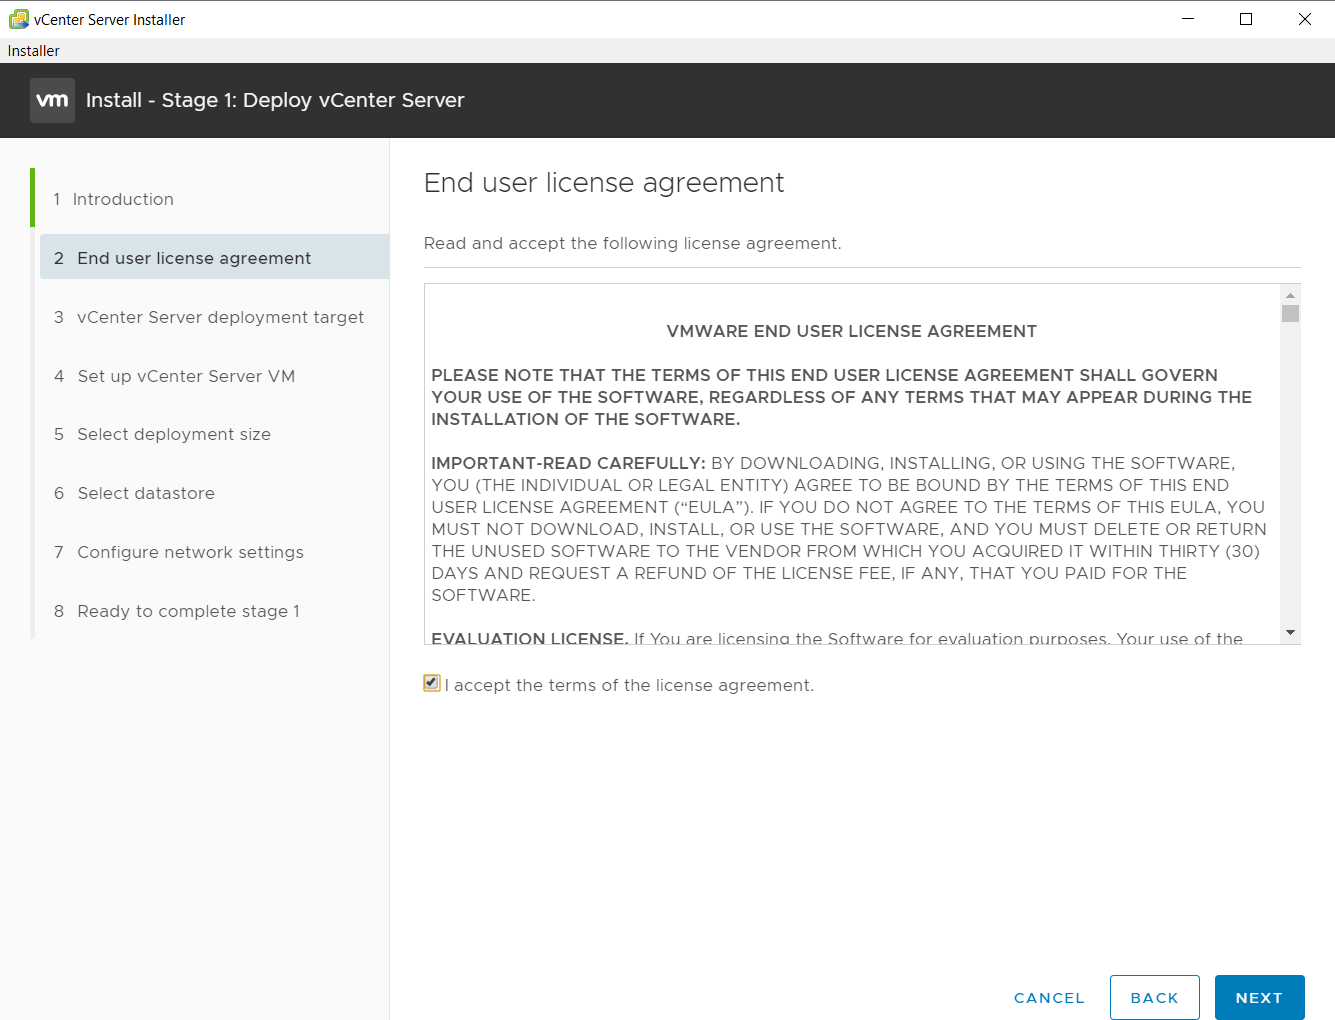
Accept the license agreement and click next.
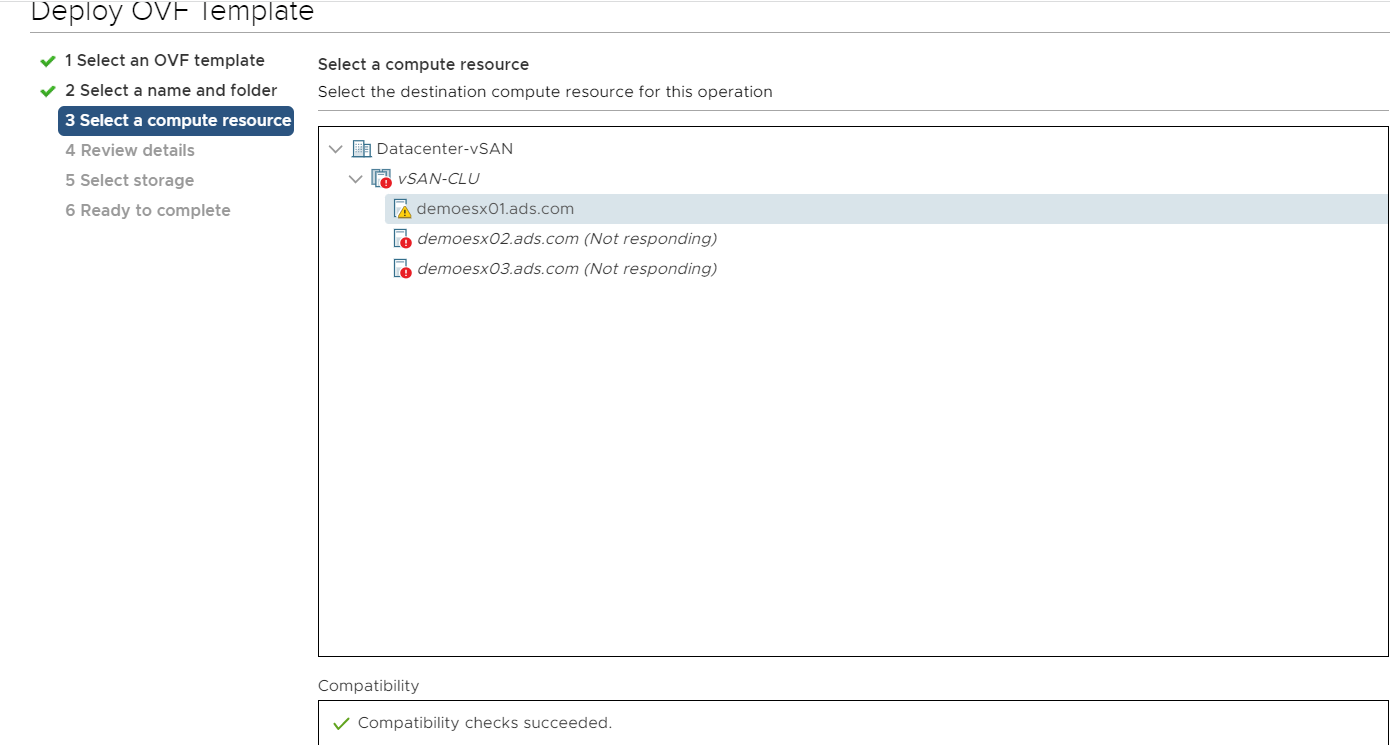
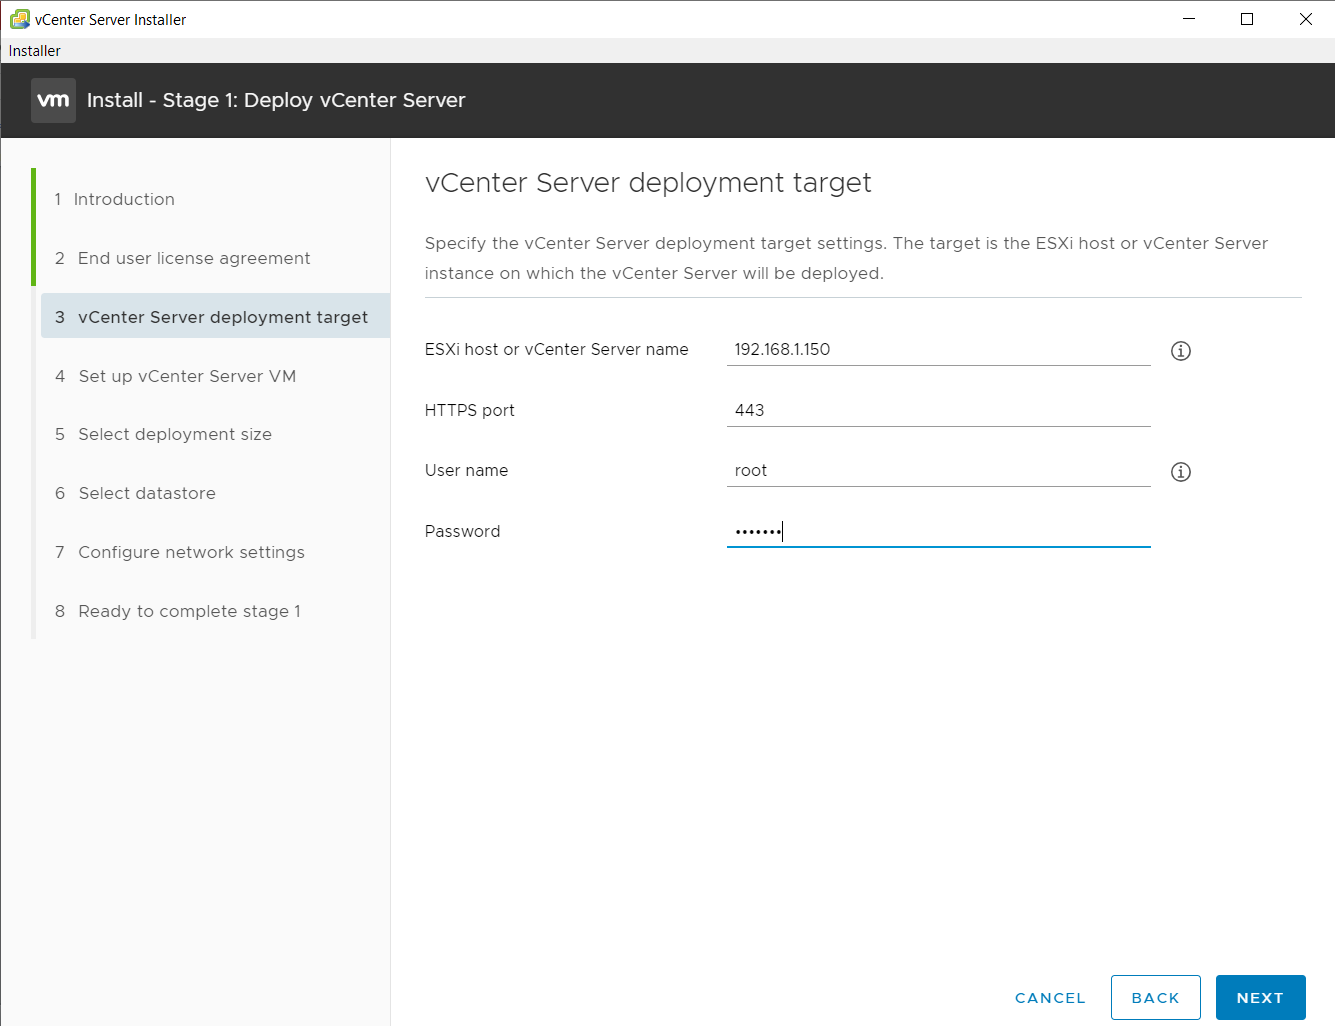
Enter ESXI host details
Username
Password
Click next
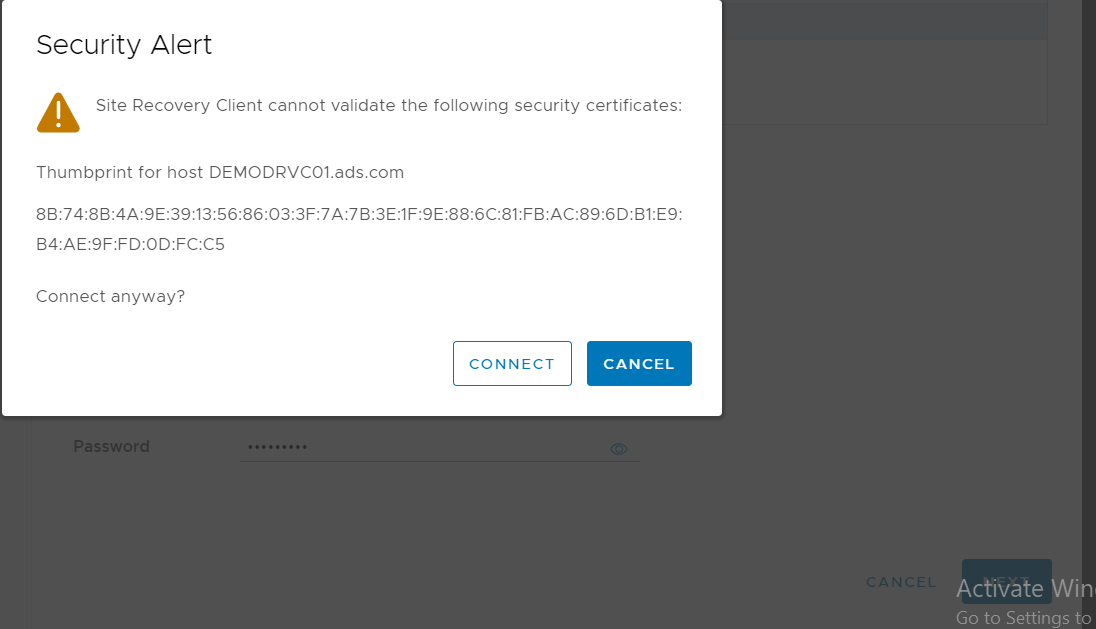
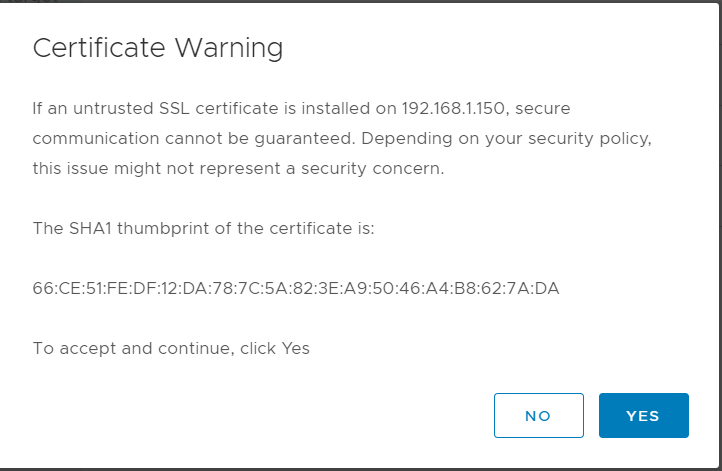
Click yes to accept certificate.
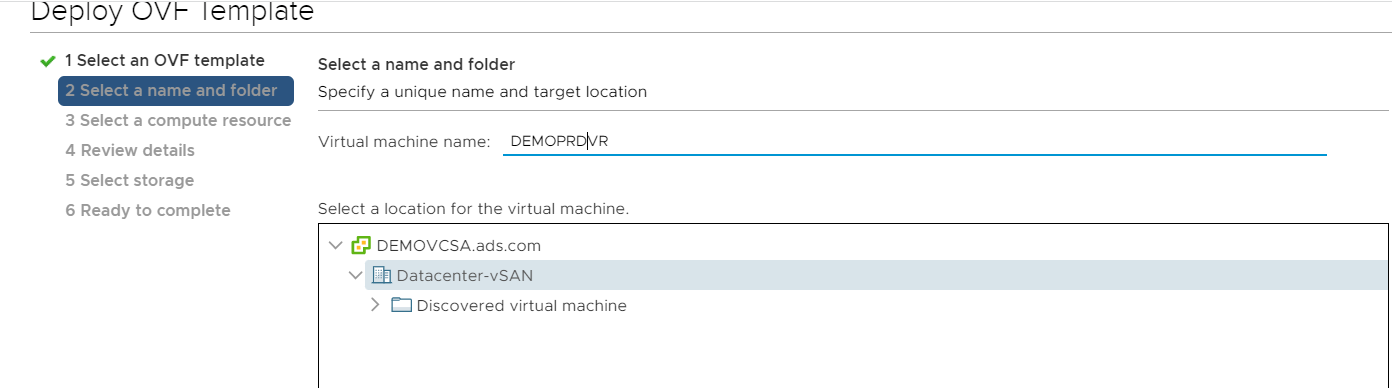
Enter vCenter VM name
And set root password minimum 8 character with standard keys
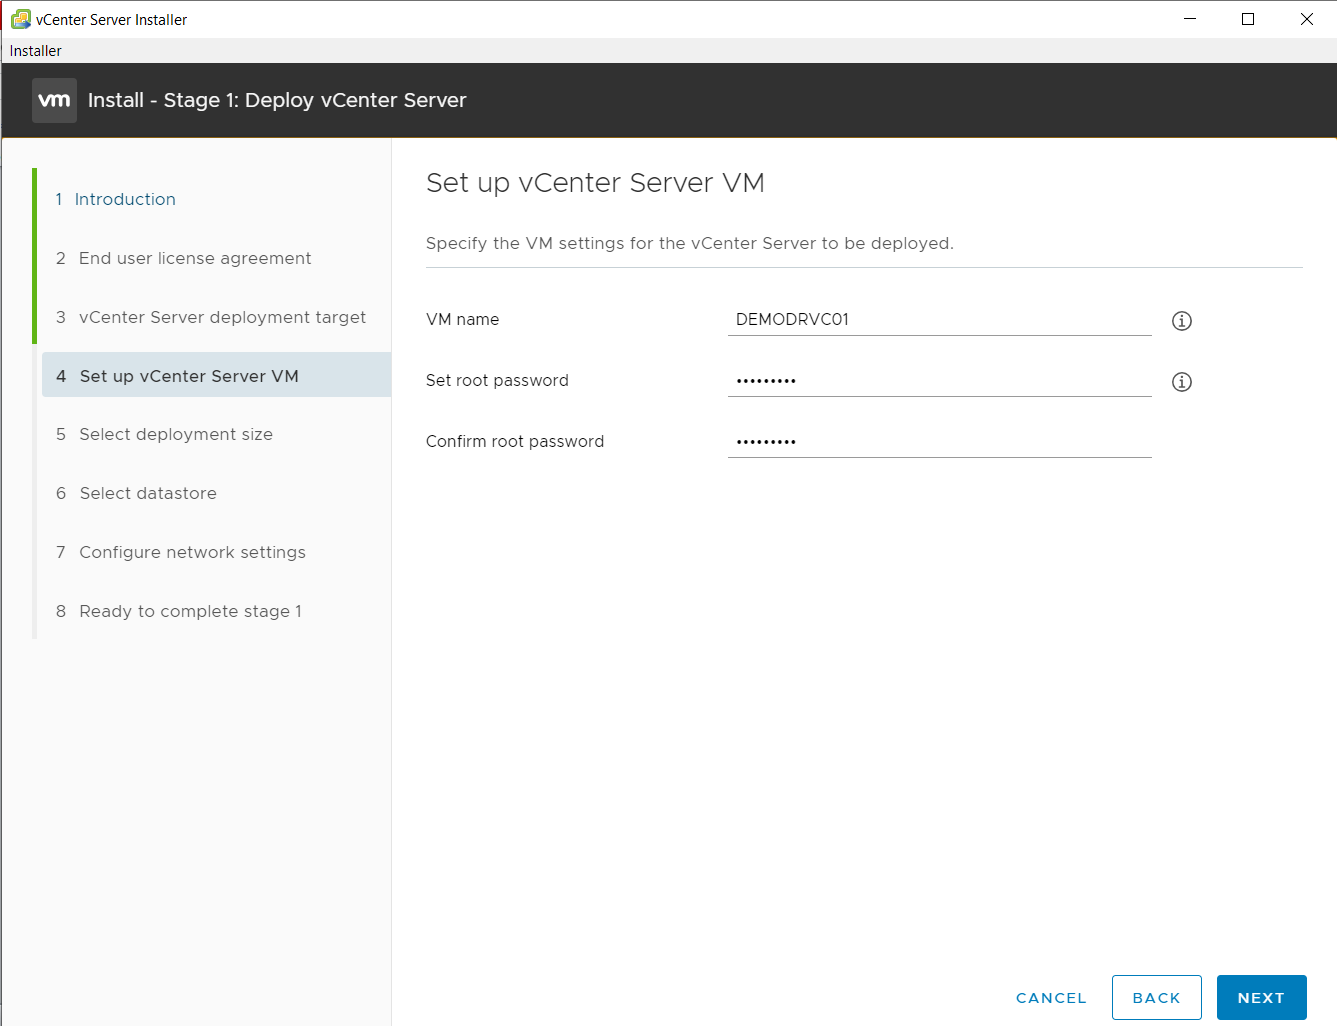
Note-: Make sure you have created DNS record for vCenter.
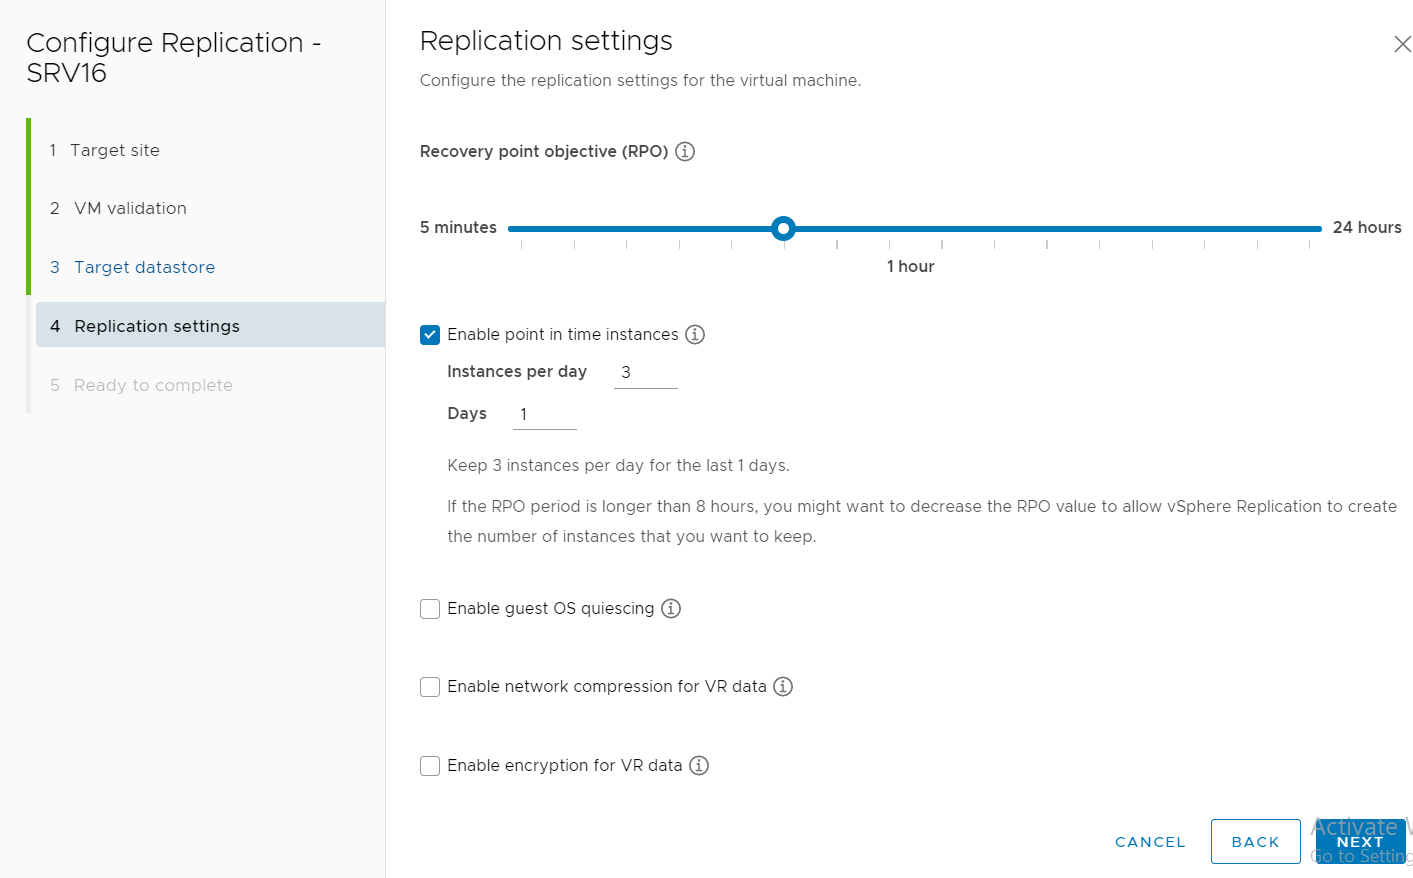
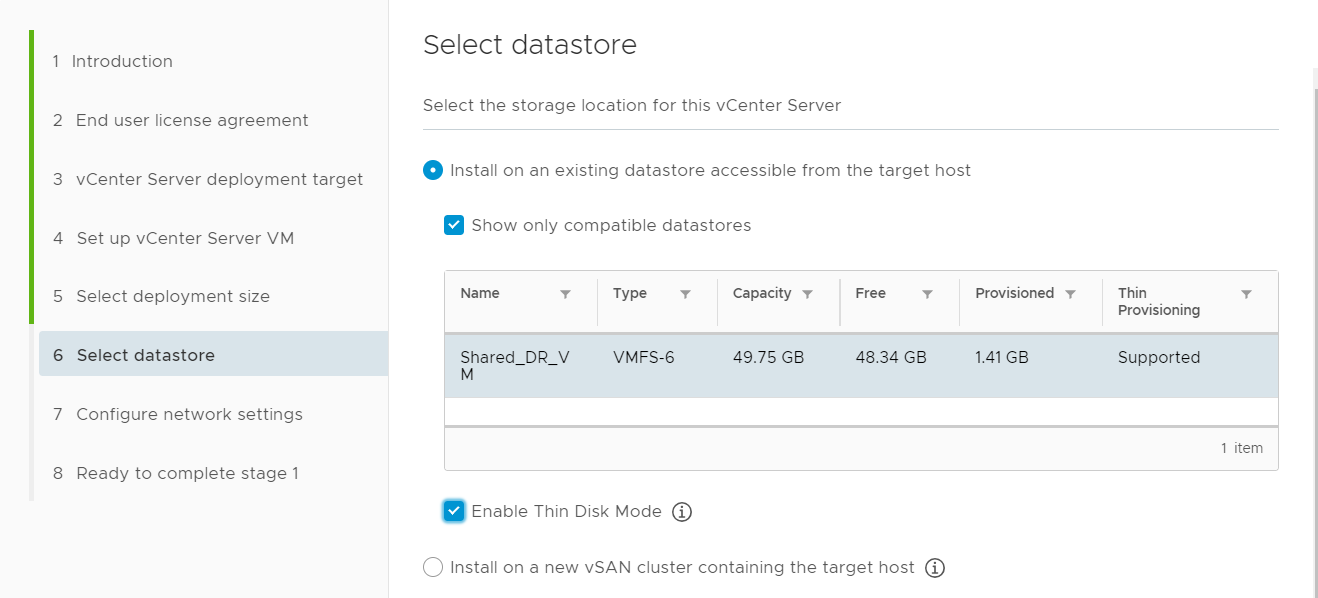
Select the deployment type, here in my Lab I am selecting Tiny

Select Enable Thin disk mode
Click next
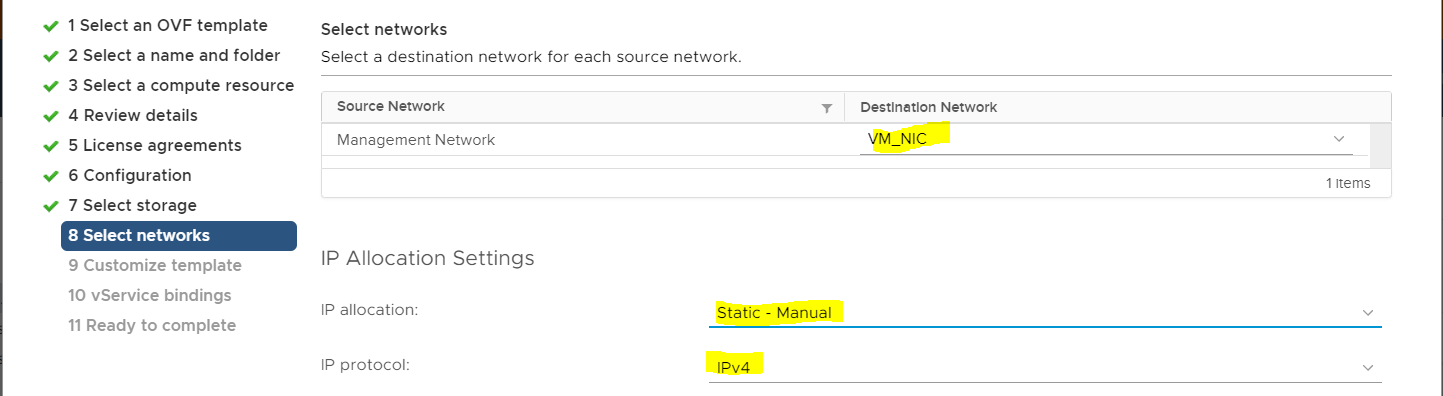
Select network types from the list
IP settings
Enter IP address
Enter Hostname
Enter subnet mask
Enter gateway
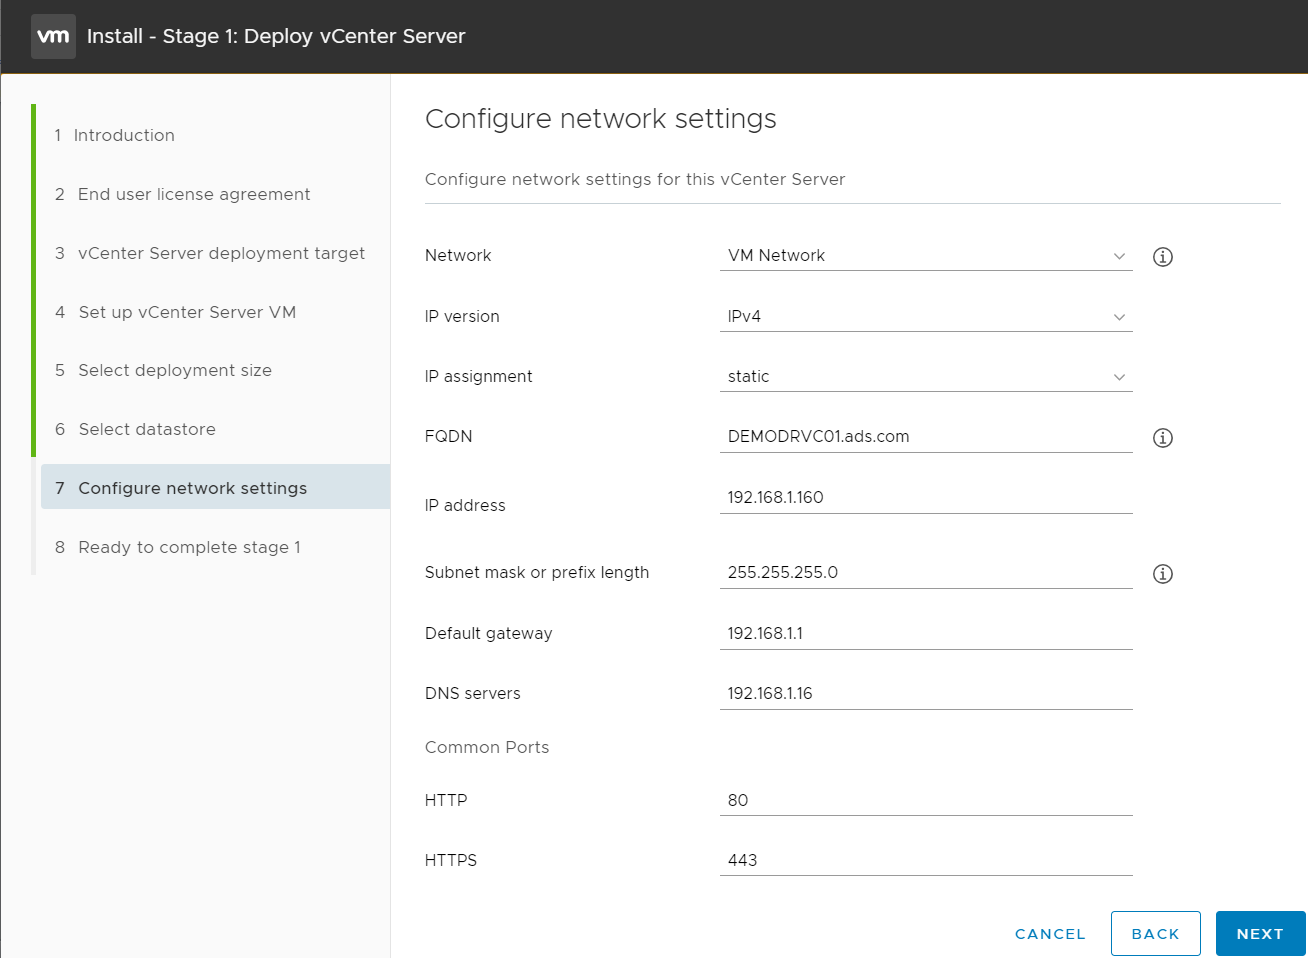
Click next once required details you update

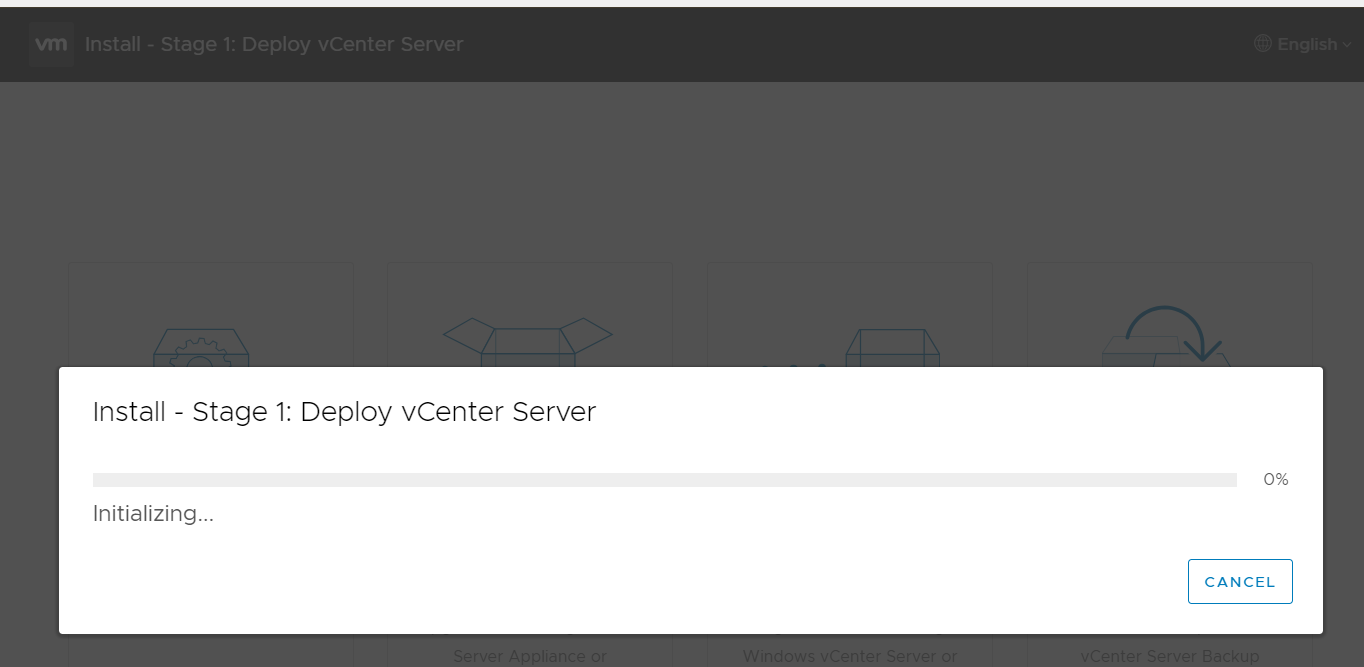
Proceed for installation
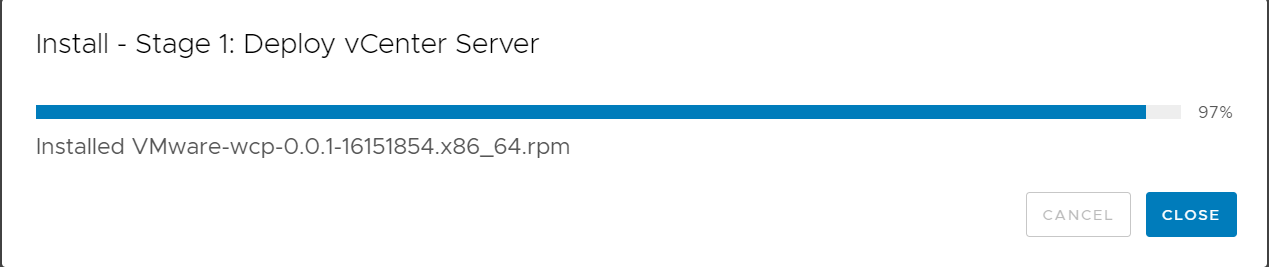
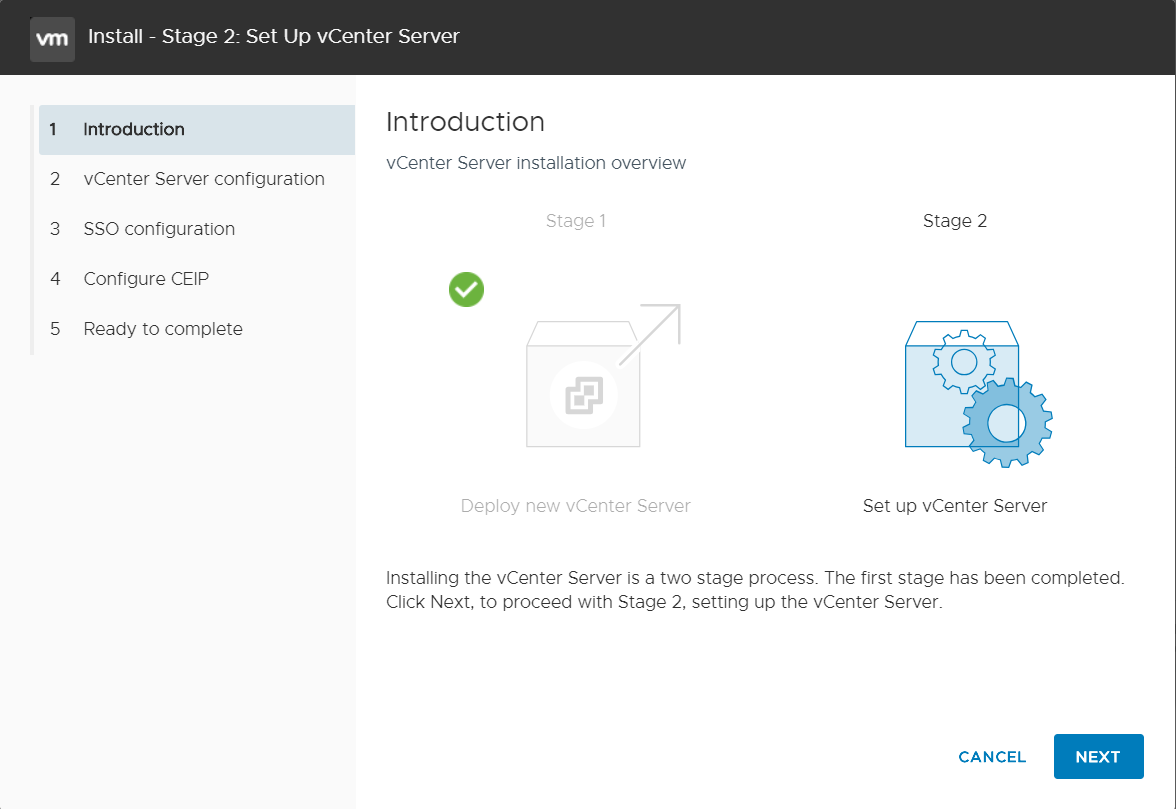
Now stage 1 has completed
Click continue to start stage 2

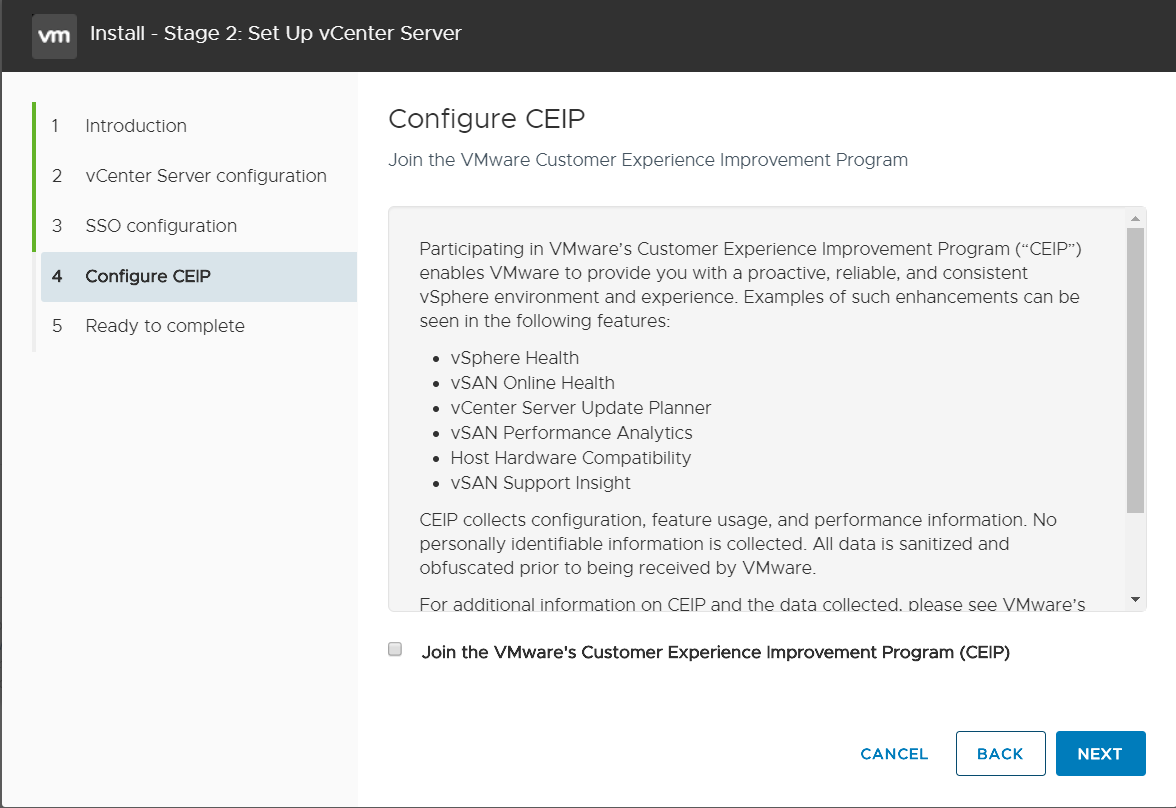
Click next
Assign time sycn mode
SSH access Enabled/Disabled
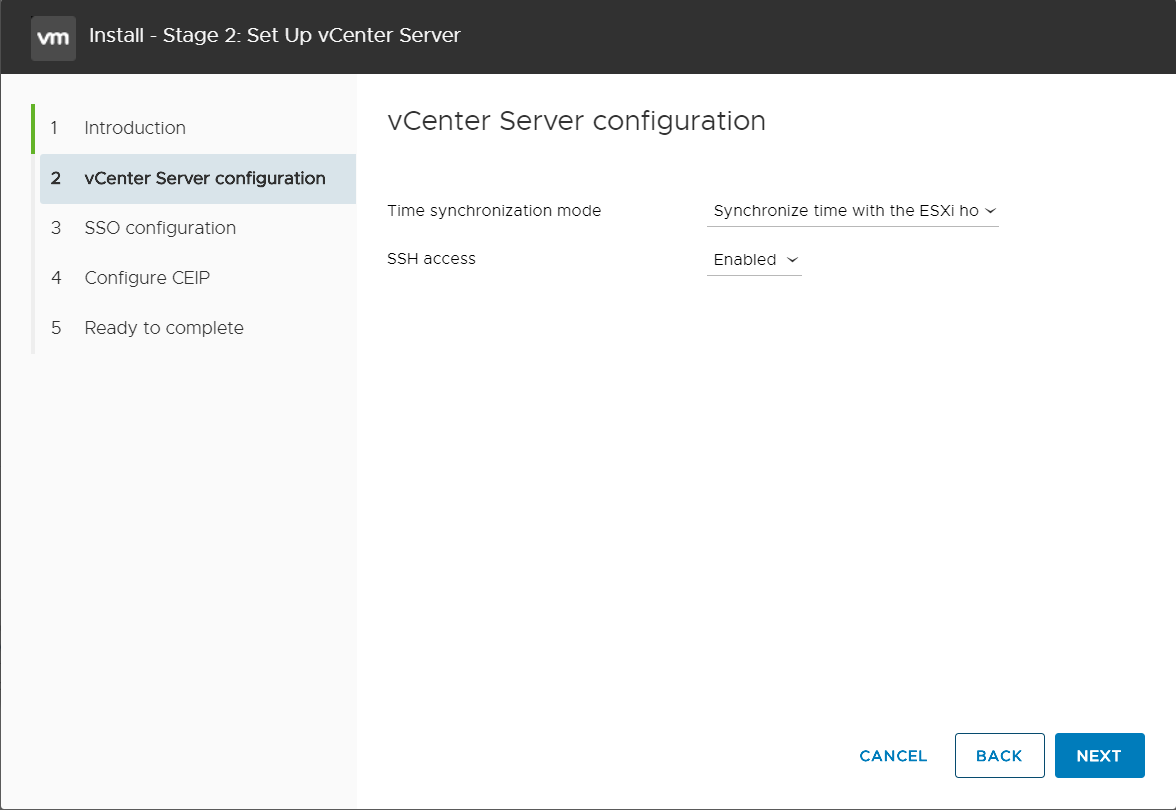
Click next
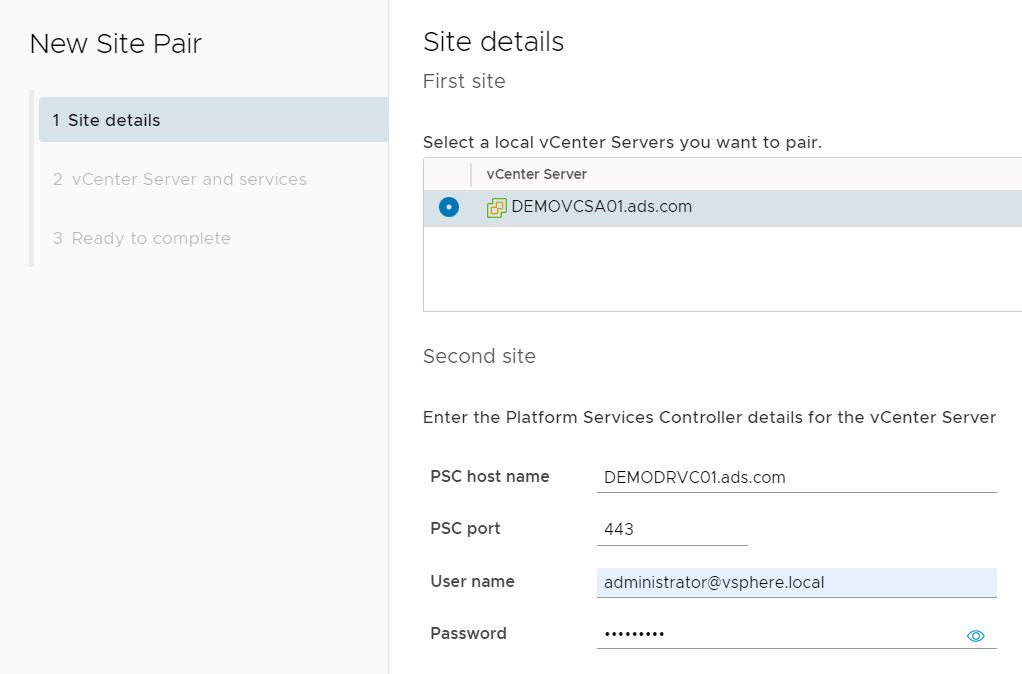
Create a new SSO domain
Enter the SSO domain in my Lab I am using vsphere.local instead of domain.
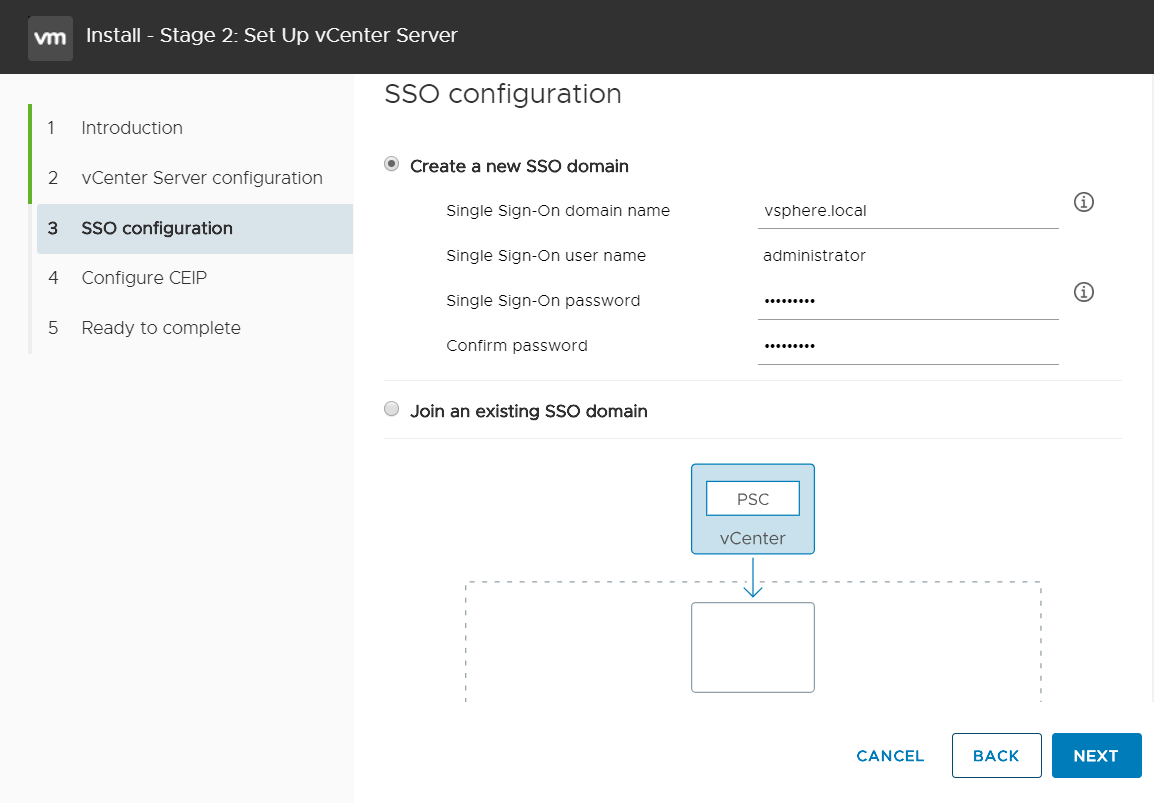
Click next
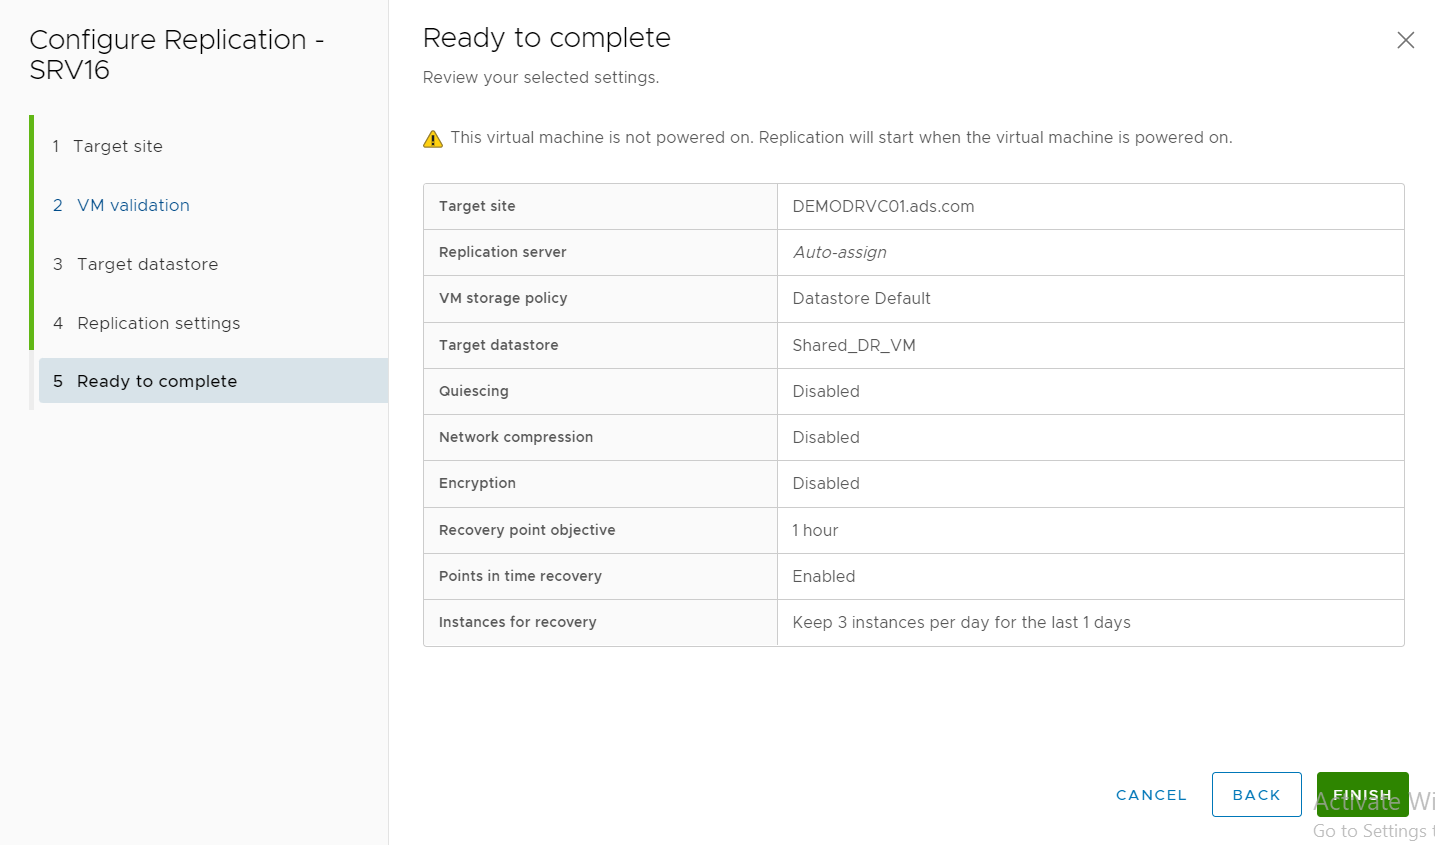
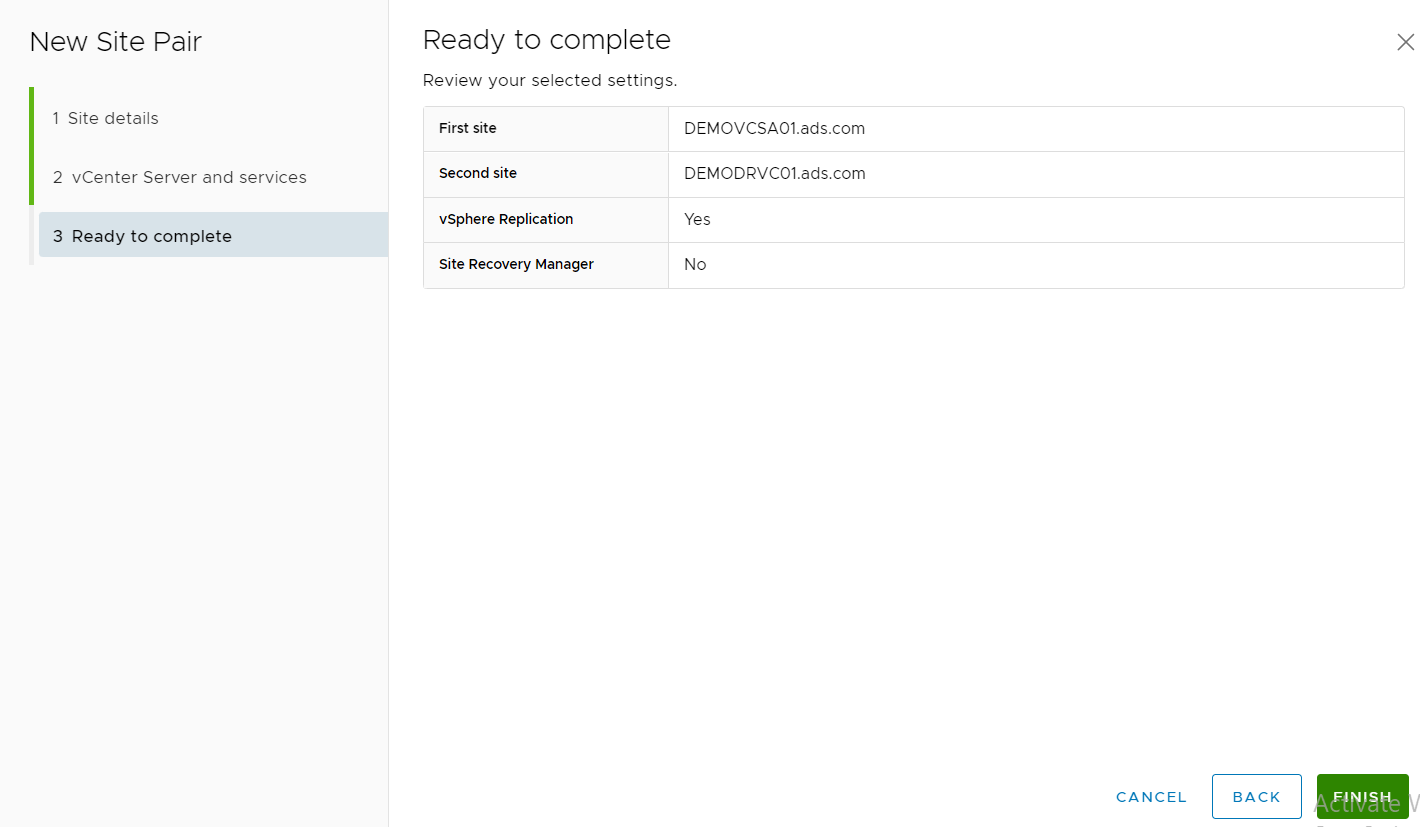
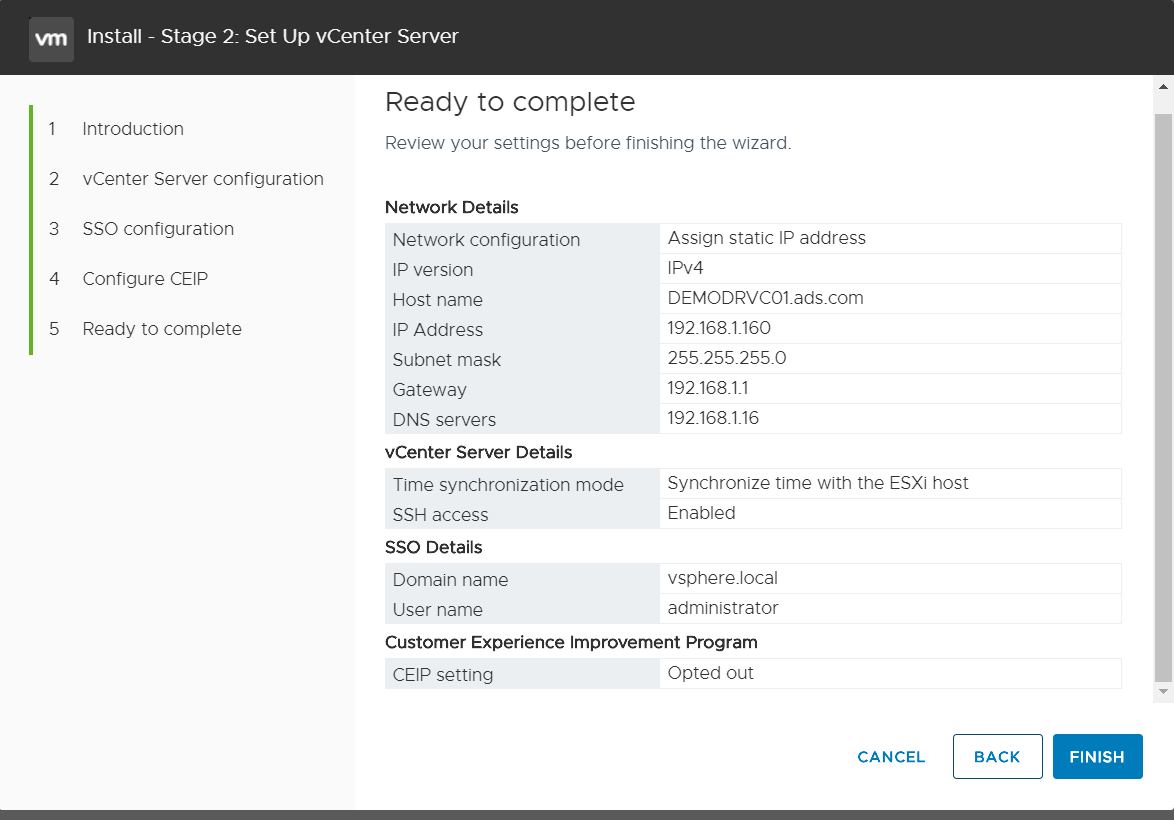
Review the configuration and click finish
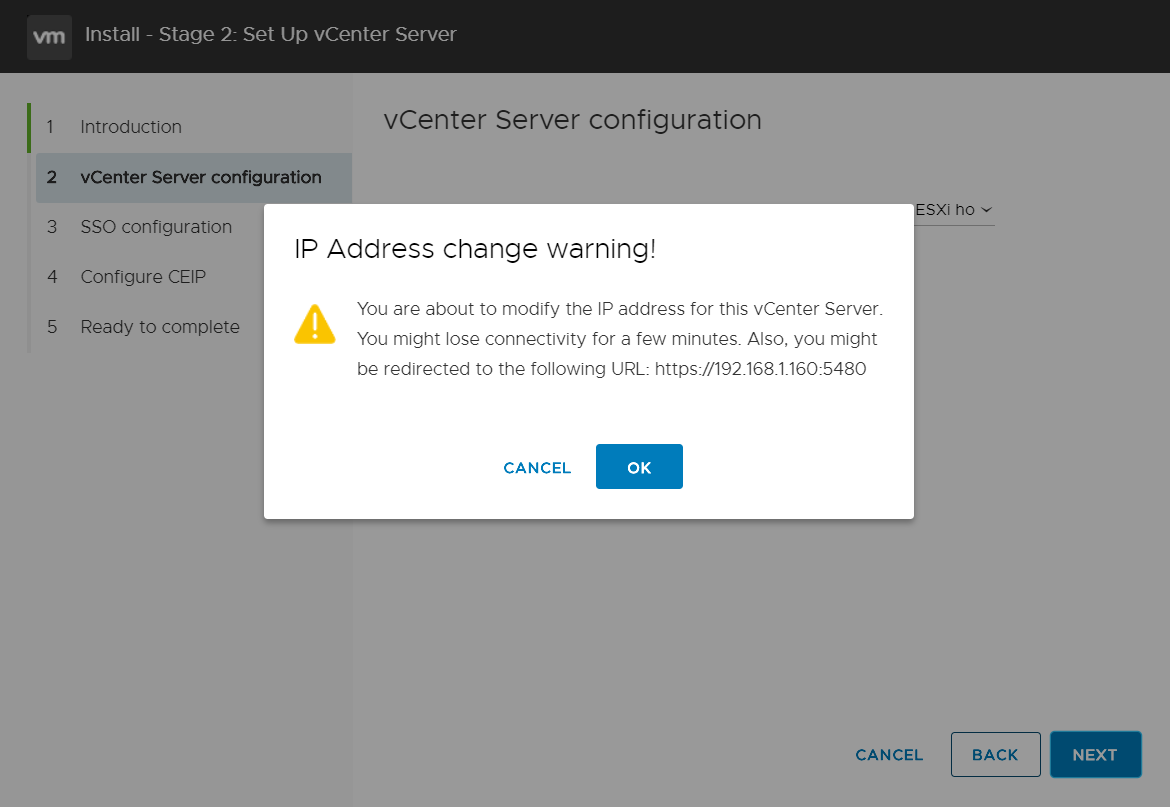
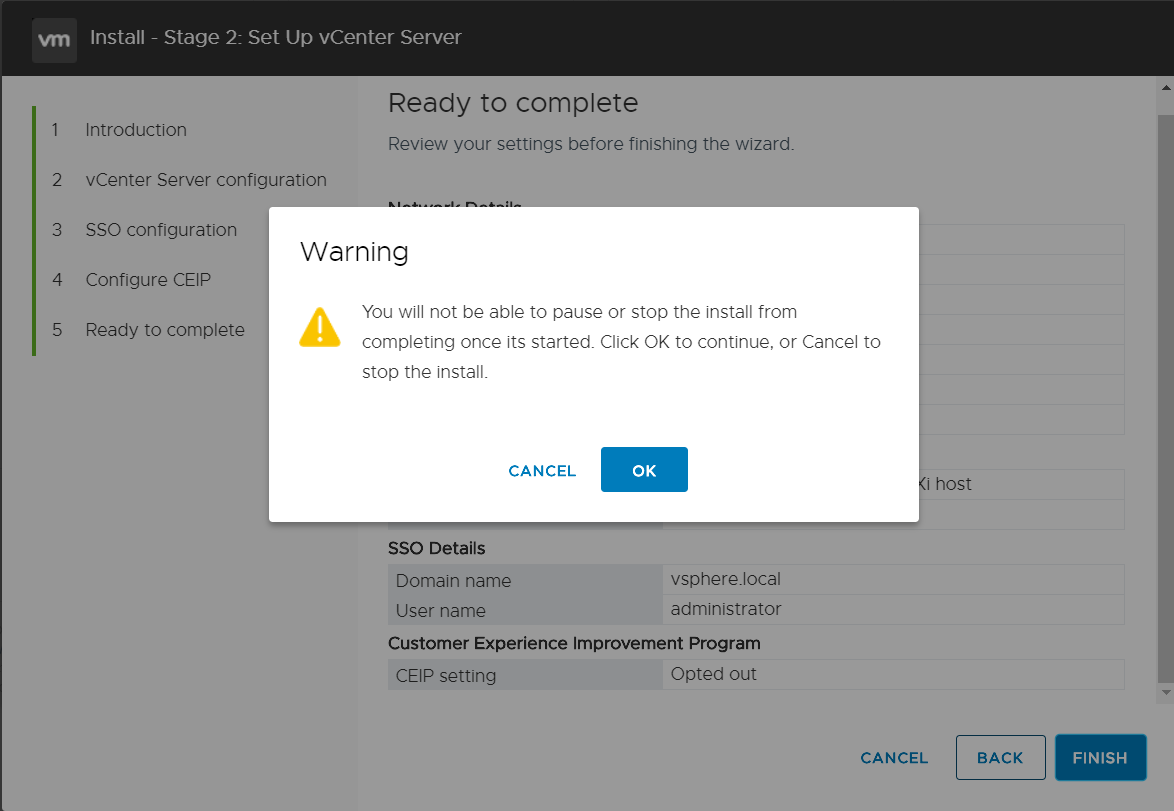
Click OK
Click Finish
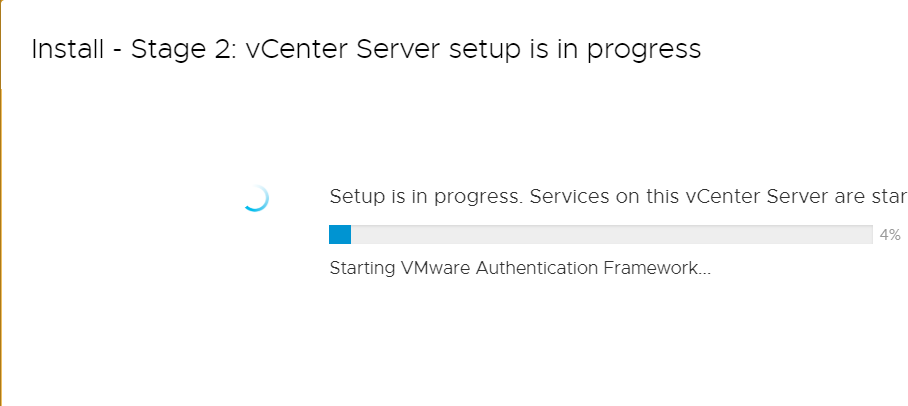
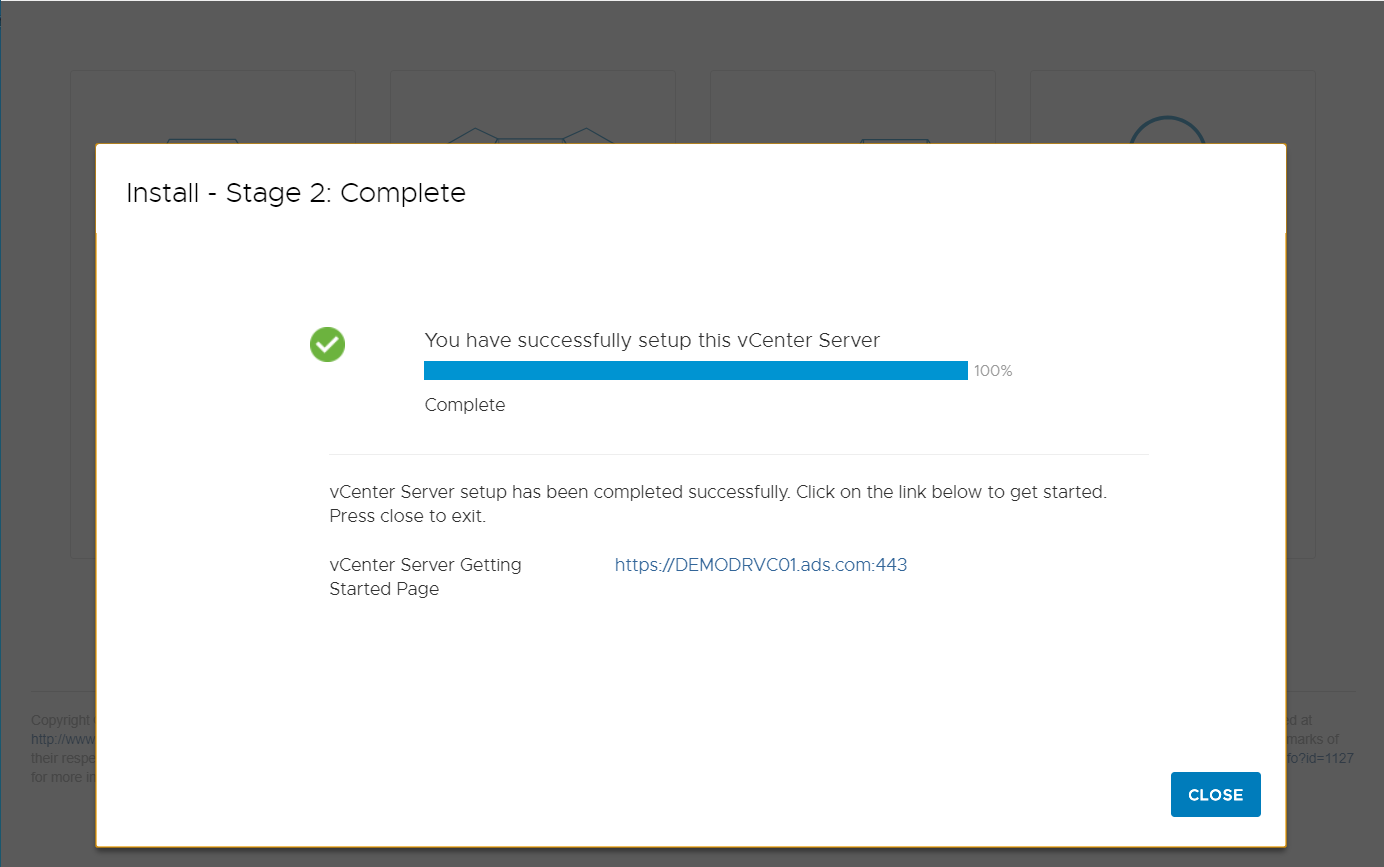
Now installation has completed successfully
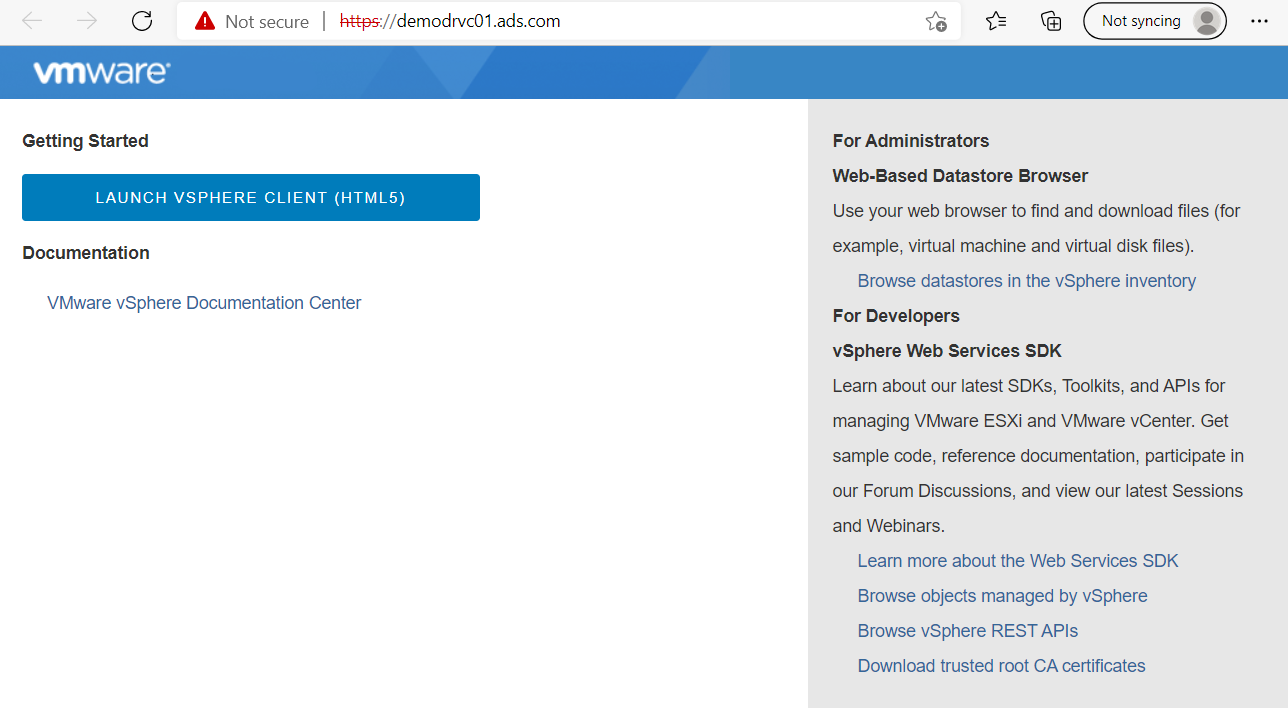
Click on https:// ******** link to open console